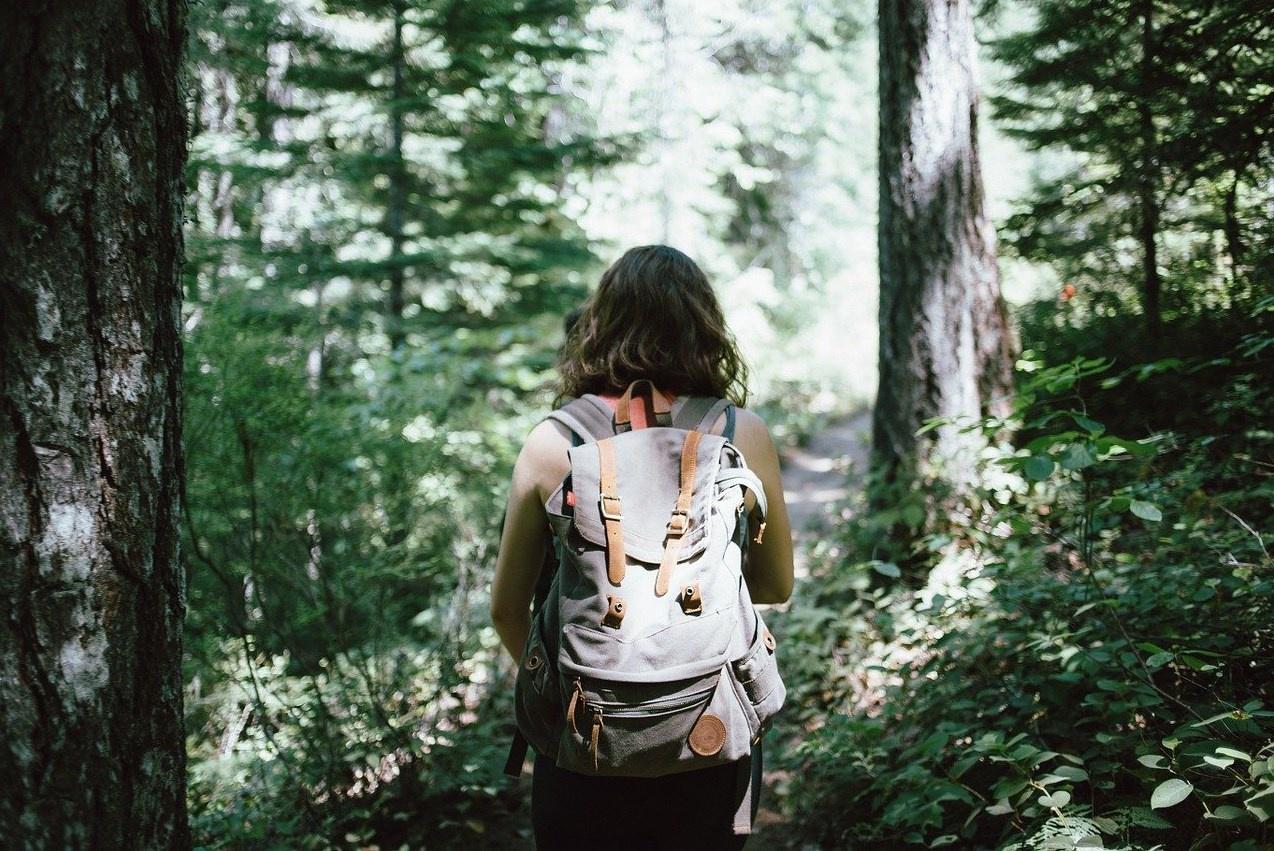
For whatever reason you have, there’s no denying that doing an outdoor adventure is a pleasurable pursuit. It gives you an unlimited number of opportunities to learn, explore, and have some fun.
But for beginners, any outdoor adventure is quite daunting. Whether it be camping or backpacking, essential preparation is crucial. You simply have to know what to do, bring, and anticipate once you are outside.
Camping Supplies: How To Prepare For Outdoors
The Essential Camping Gears
Outdoor camping is indeed fantastic. But it is quite unique since you are going to prepare everything from scratch.
Nobody will ever prepare your campground for you. You have to do it yourself. But that’s the beauty of it. You have control as to the things that you can do.
Before you immerse yourself in the experience, you have to pack the essential supplies for camping and outdoor adventures. They are the ones that can determine if you are going to enjoy the trip or not.
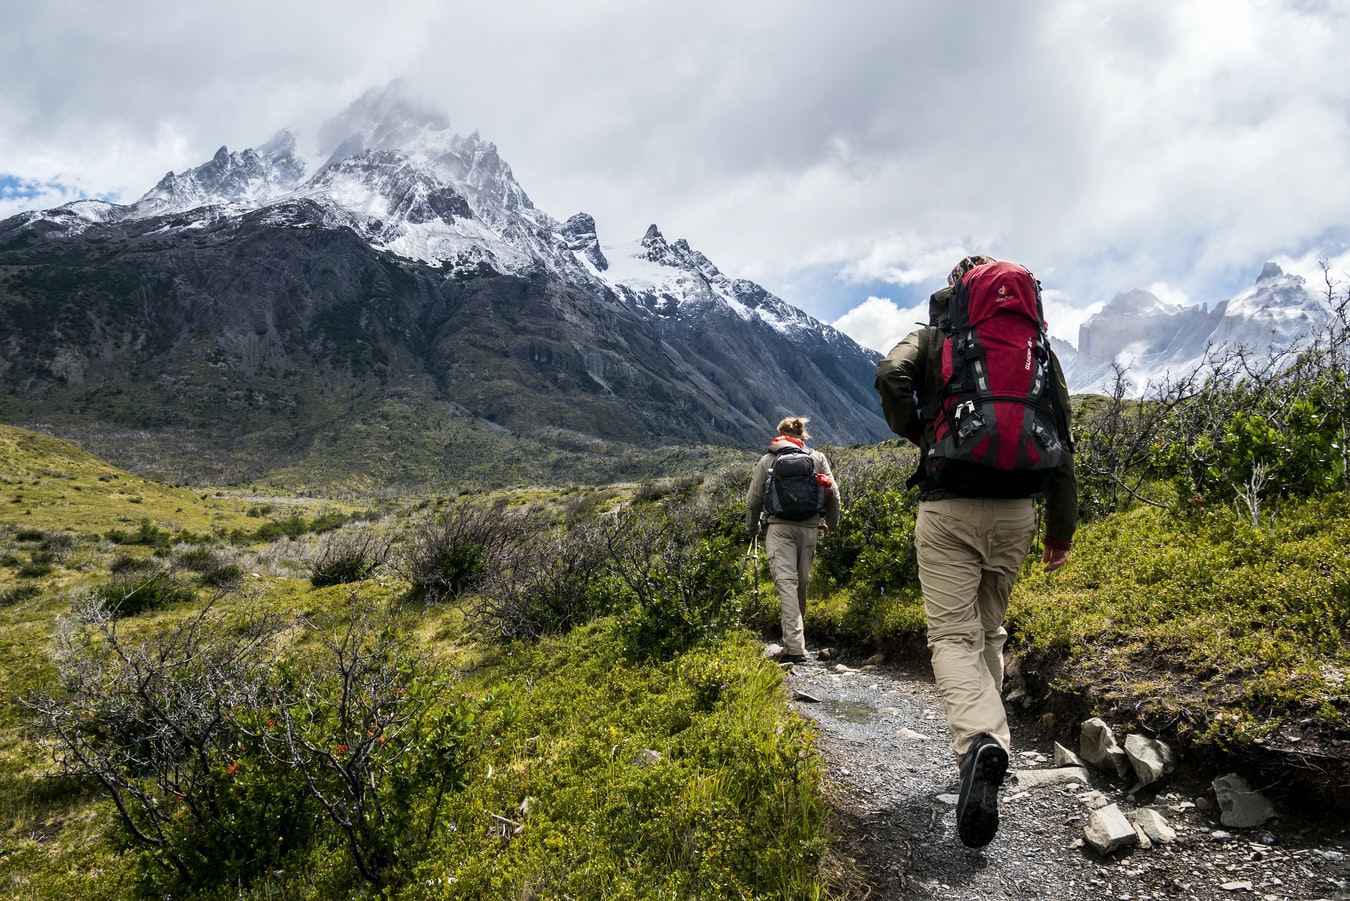
Since we are talking about camping, it is entirely okay if you carry a little weight. Of course, you have to assure first that what you are going to do is camping, not backpacking. If it is the latter, then you have to reduce the things that you have to carry. Bringing a myriad of amenities can burden a long hike in the trail. Be sure to adopt a mindset of surviving camping first.
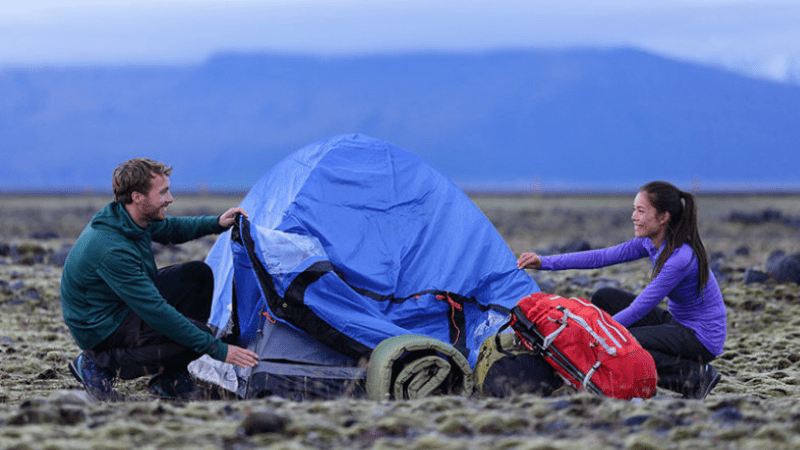
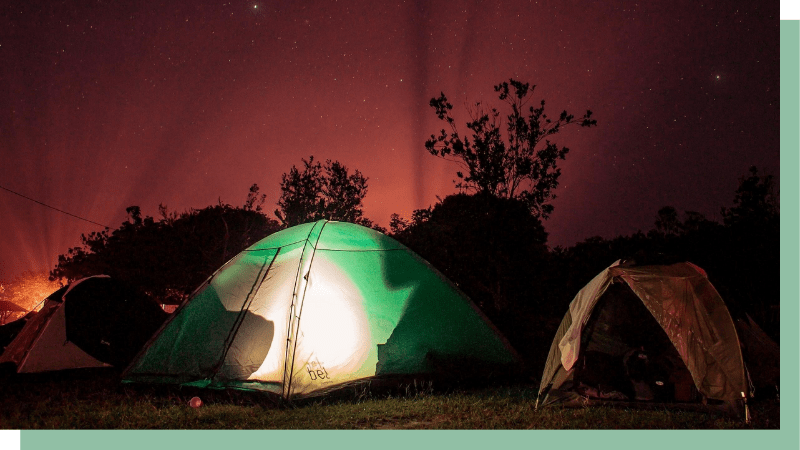
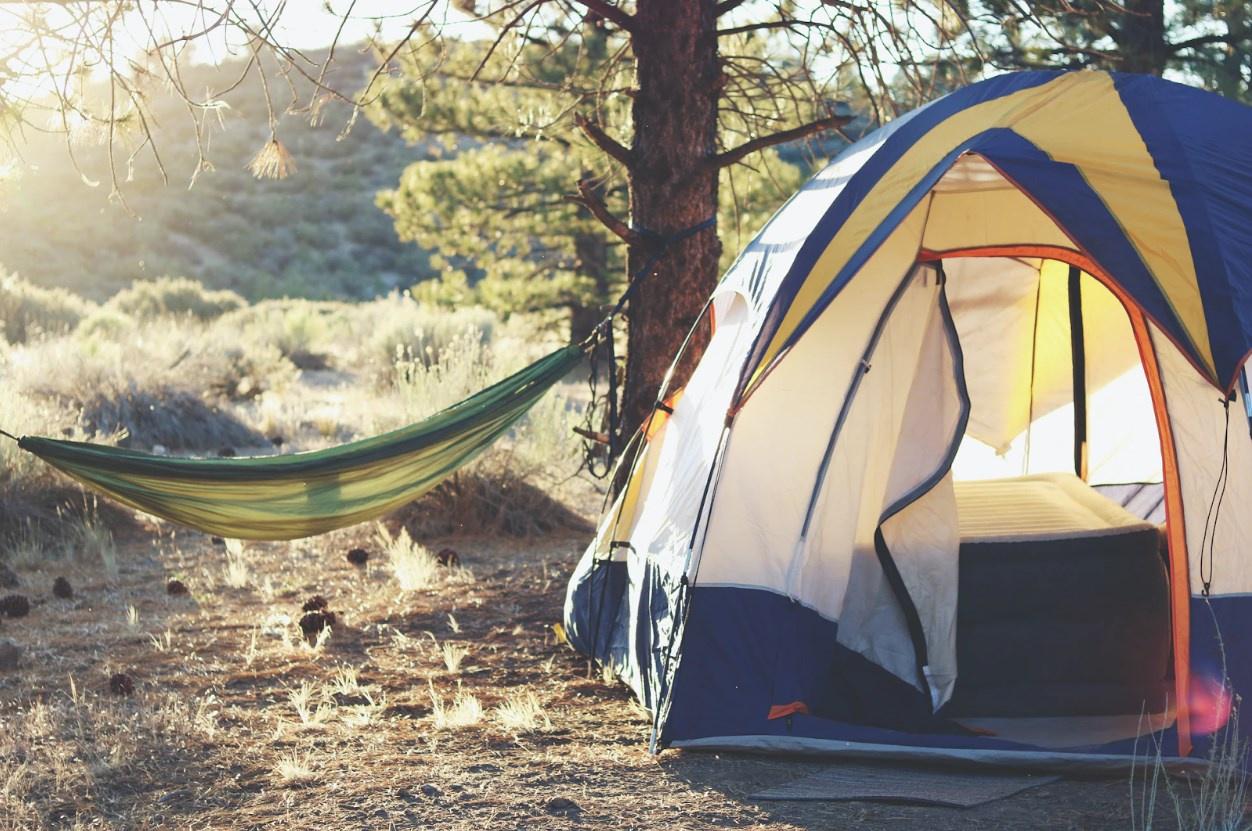
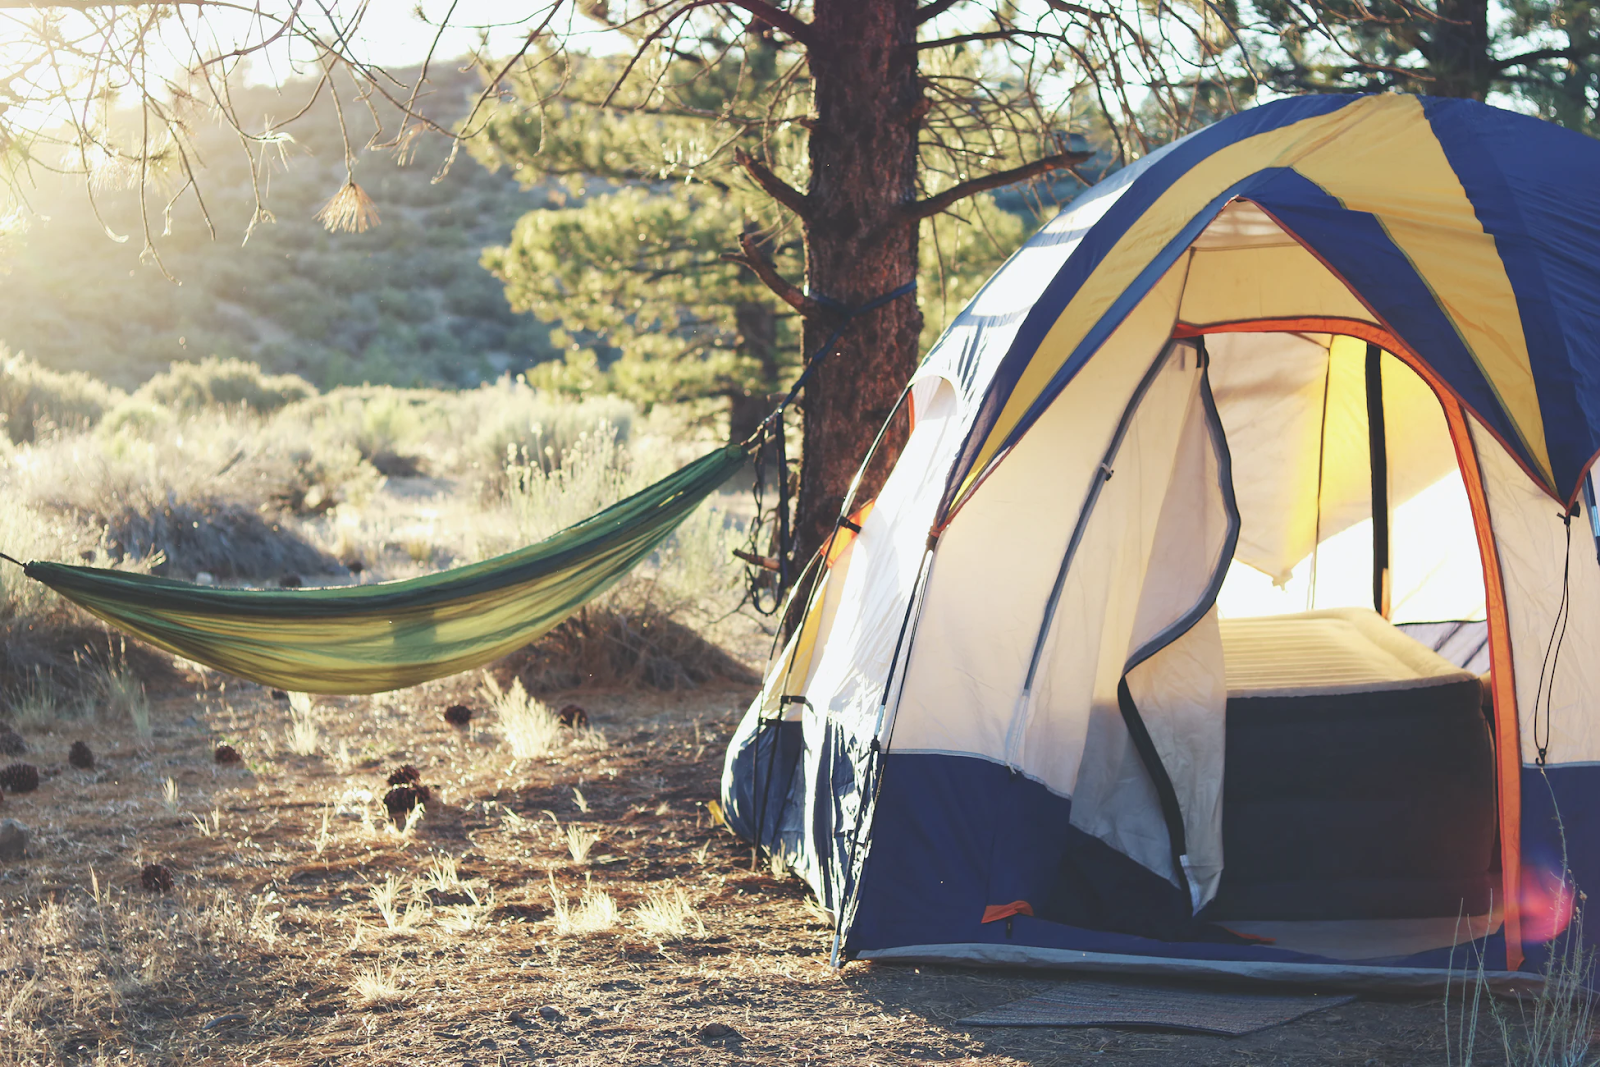
Tent
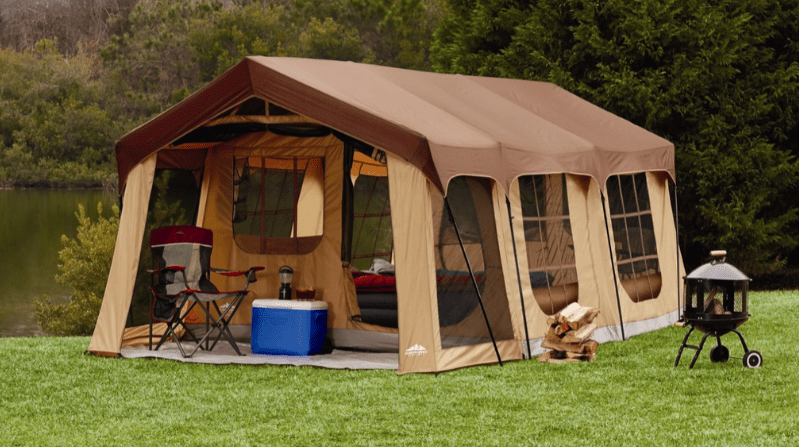
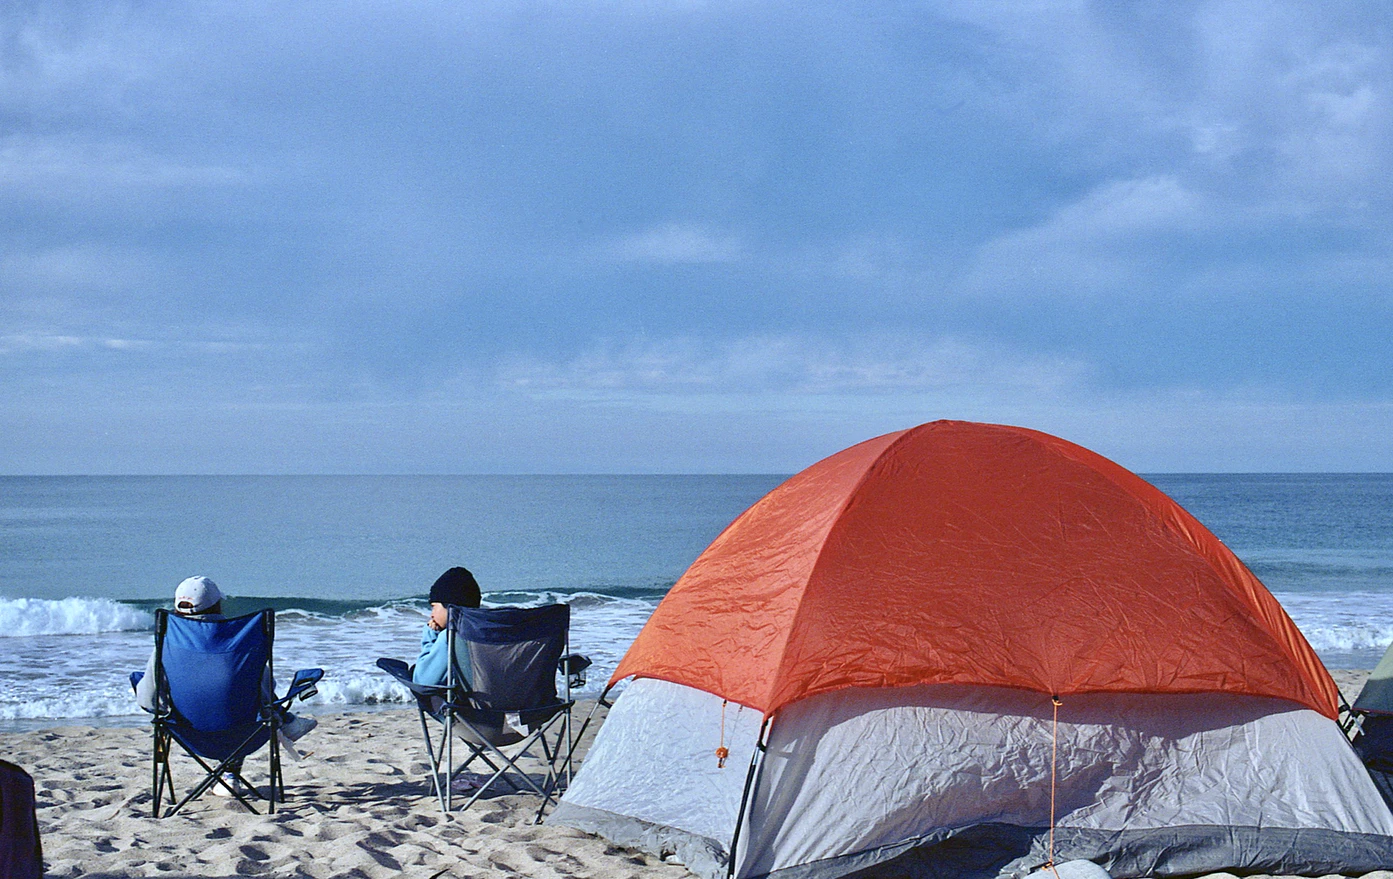
The first one that you should secure is the tent. It is your primary shelter for every outdoor adventure. Of course, you got to invest in a tent that is rugged and ergonomic. If you can, buy a larger unit.
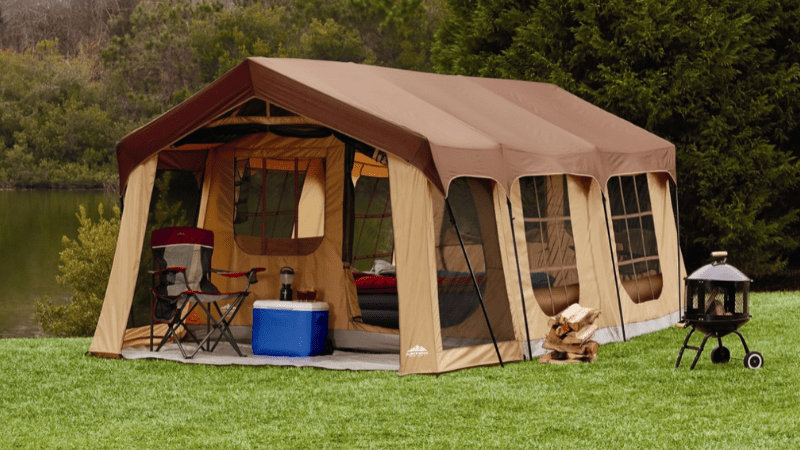
A four-person tent, for instance, will provide a comfortable space for you and your belongings. If you are camping as a group, go for a tent that is one-person larger than your actual number.
- Construction – You should also pay attention to how the tent is constructed. For convenience purposes, a cabin tent proves to be an excellent choice. It has enough headroom so that you can at least sit. You should also pick tents that have vestibules and rainfly. The vestibule acts as an external canopy for additional storage space. Meanwhile, the rainfly defends you from the rain, snow, and UV rays.
Don’t forget the pole architecture, too. The poles have to be durable and sturdy. The presence of stakes and guylines can provide added stability to the tent.
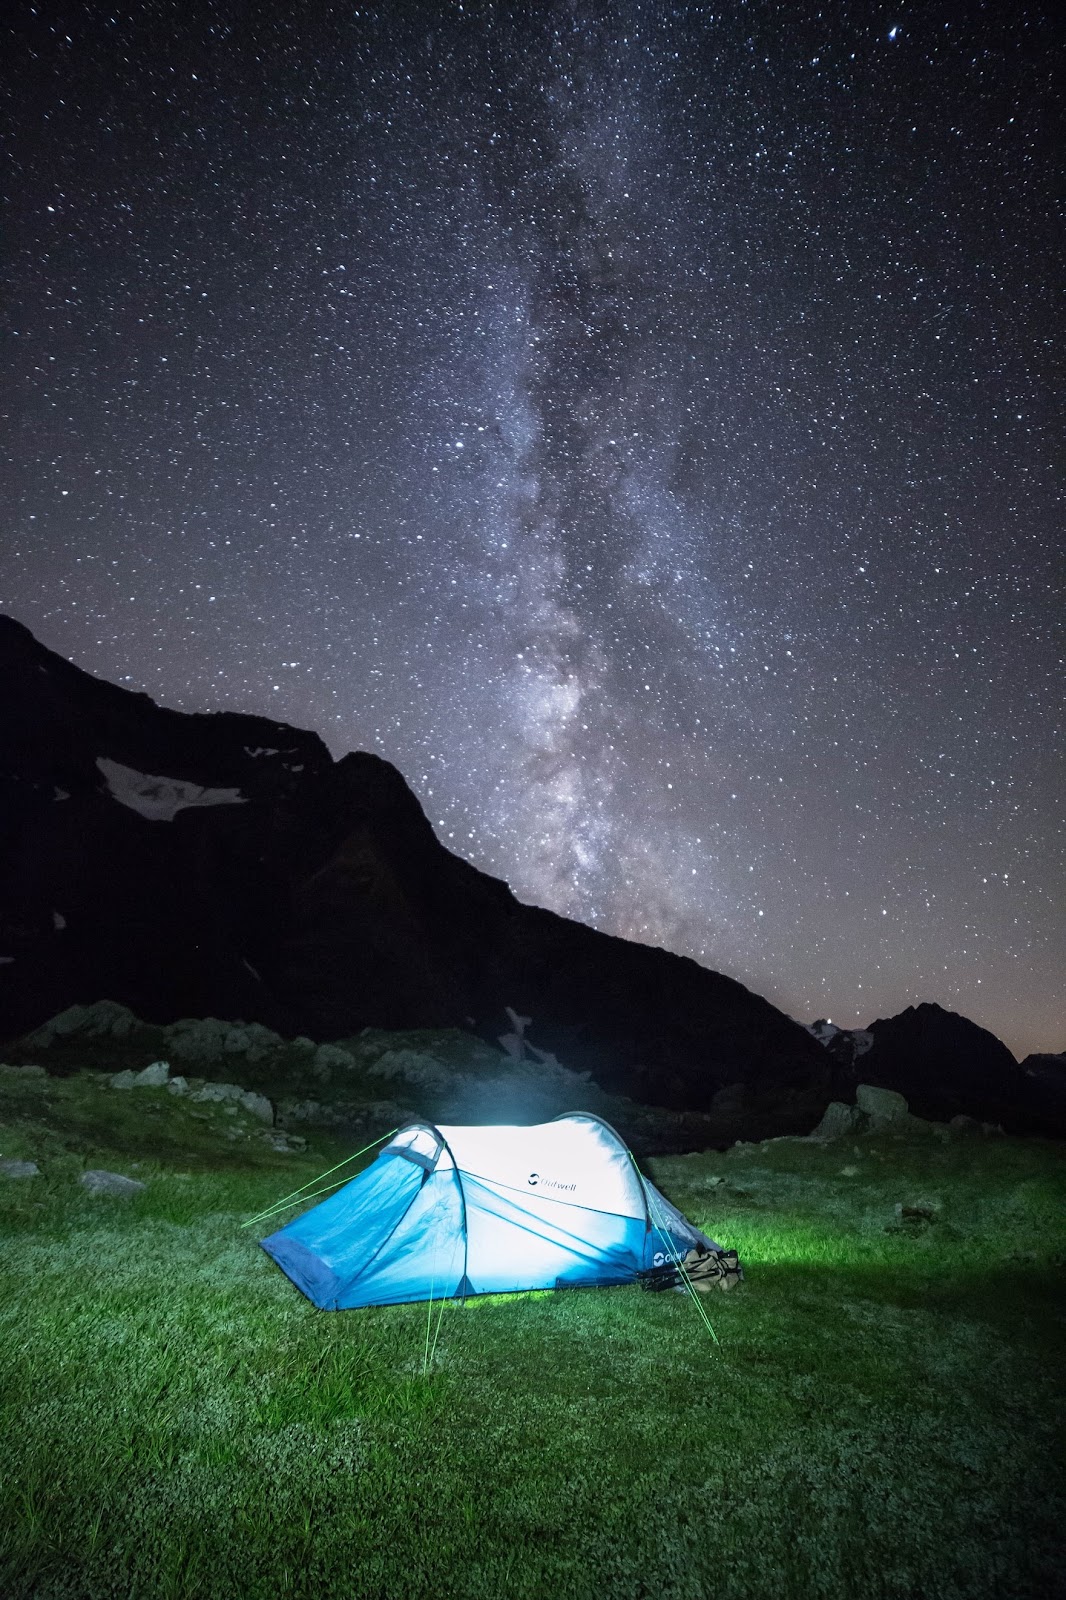
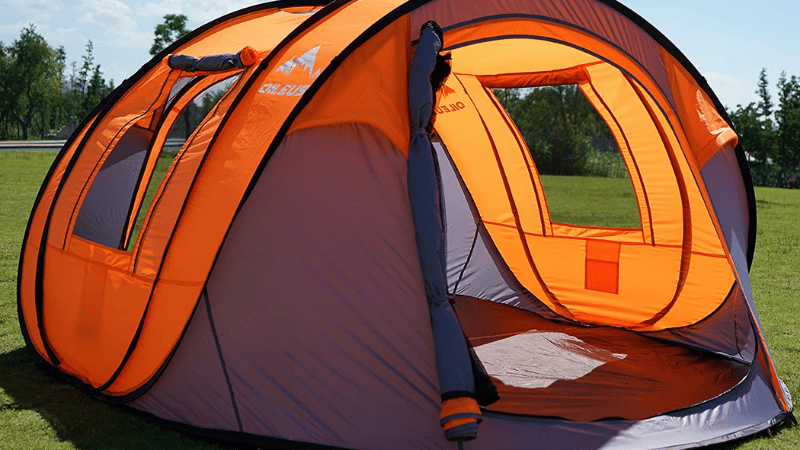
- 3-Season Tent – A 3-season tent is designed for the “friendly” weather. If it is sunny or rainy, a 3-season tent is usable. This particular tent can also deal with moderate rain, wind, and snow. Most of the camping tents are 3-season tents. There’s no real need to invest in a 4-season tent unless you are expecting bad weather.
- 4-Season Tent – Camping in high altitudes and perilous terrains are not that easy. Everything out there is unpredictable. Hence, you need a durable tent that can withstand the harsh elements. Four-season tents are constructed for these arduous applications.
- Practice setting up your tent – Don’t go out for camping if you don’t know how to pitch your tent. It will really be troublesome if you are clueless as to the assembly and disassembly process.
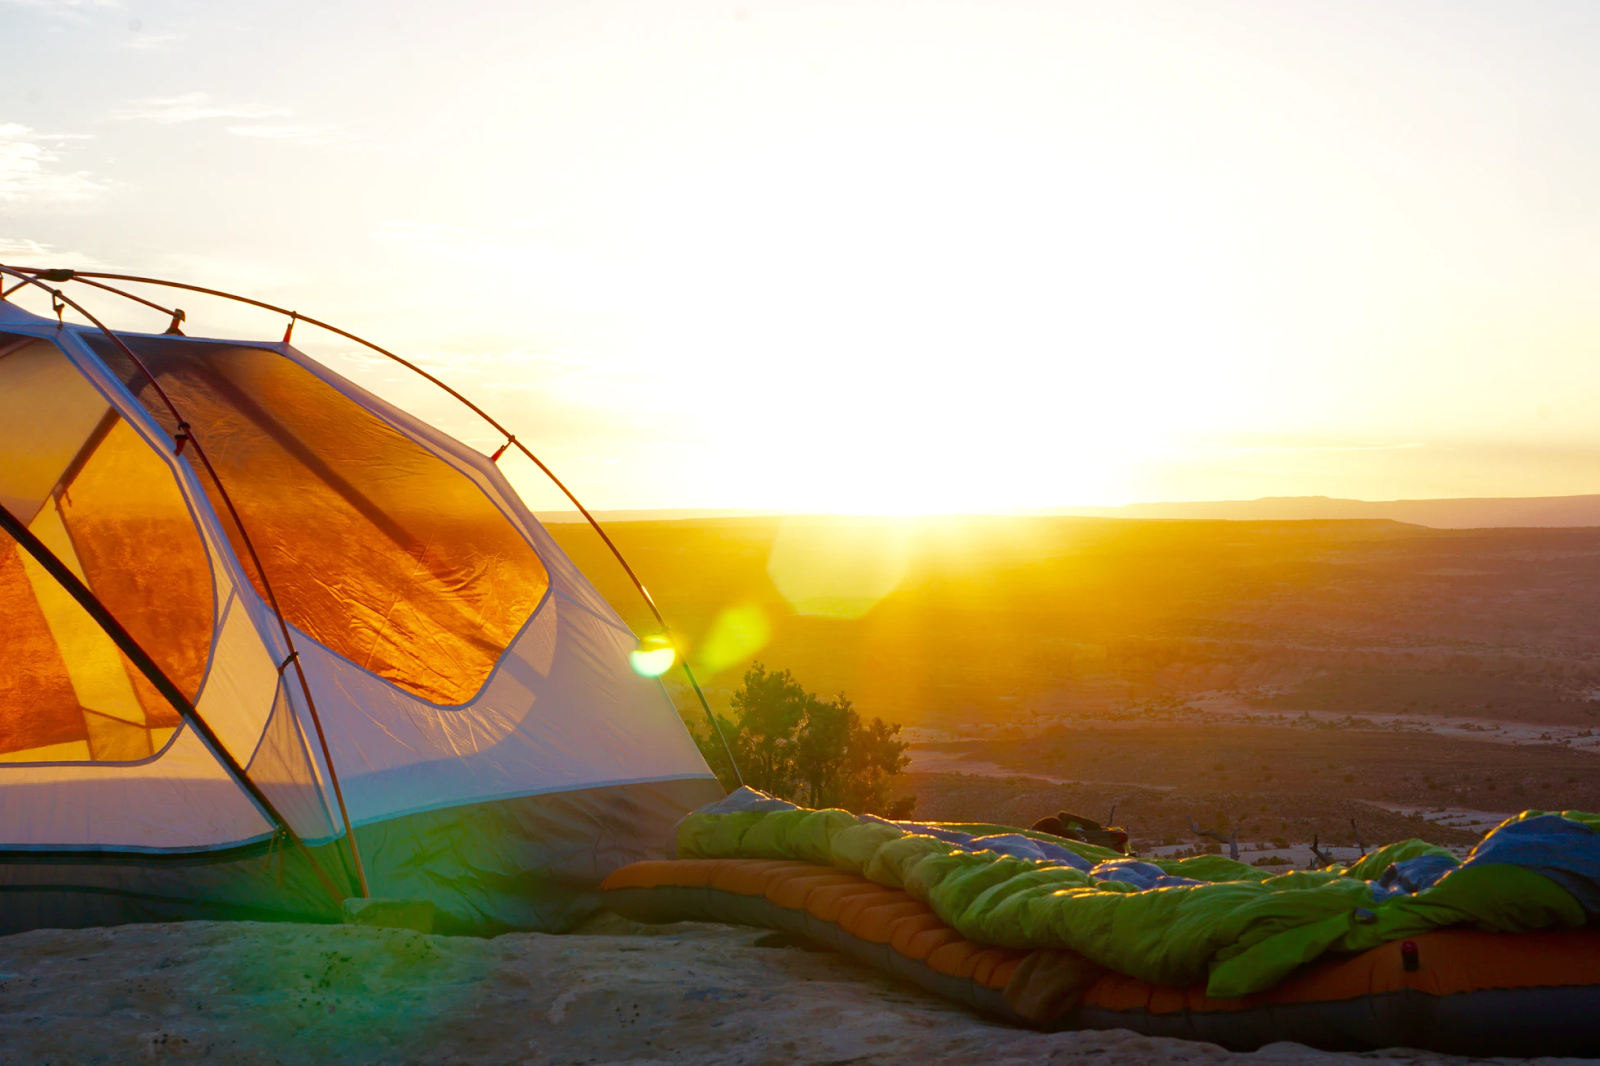
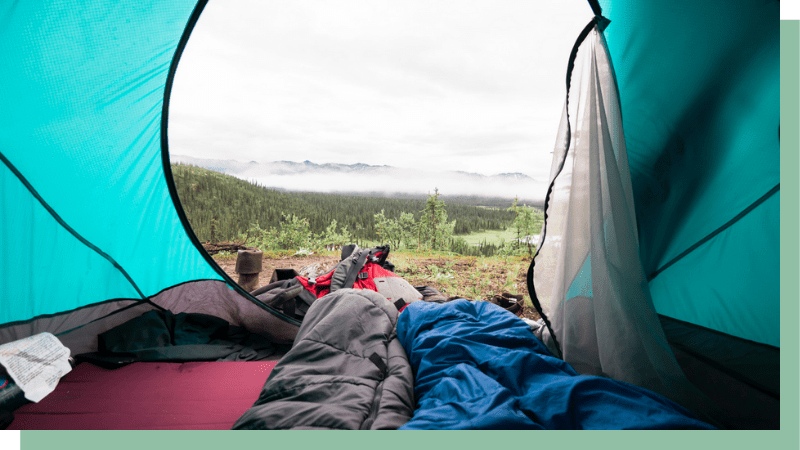
Sleeping Bag
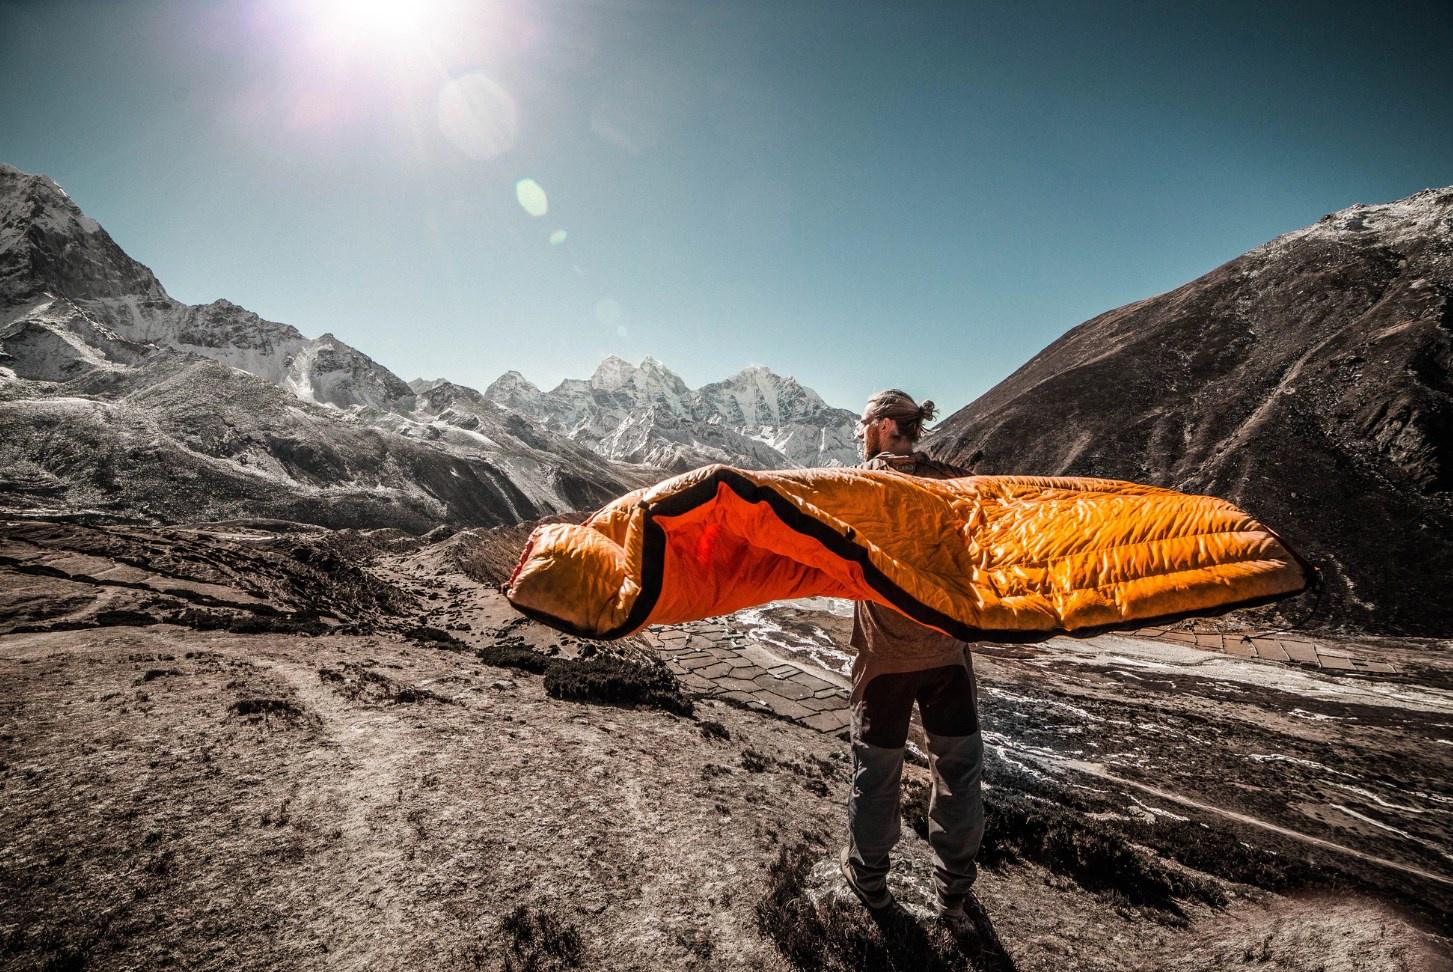
The sleeping bag is the next thing that you should prioritize. Don’t ever think that you are going to sleep on the floor of the tent. That’s gonna hurt! Keep in mind that your tent’s flooring is not padded. Hence, lying there will immediately cause body pains and chills. After all, there’s only a thin fabric that separates you from the rocky ground.
A sleeping bag is your personal haven when camping. It is where you are going to sleep. It should provide relentless comfort to your body, regardless of the external conditions.
There’s no need to get a fully insulated sleeping bag if you are camping during humid conditions. A summer sleeping bag is already a decent choice since it provides excellent means for ventilation. In short, you will not sweat while inside.
But if you want to be foolproof, a 3-season sleeping bag should be your best bet.
- Temperature Rating – Sleeping bags are rated by how well they can deal with low temperatures. A temperature rating of 10 degrees Fahrenheit means that you can remain comfortable in the tent under that said temperature.
- Insulation – There are two types of insulation being used in sleeping bags: down and synthetic. Down sleeping bags feels cozy because it is made from the plumage of geese and ducks. It has an excellent weight-to-warmth ratio and offers excellent insulation and compressibility. However, it does not do well once it is wet. Synthetic sleeping bags offers decent insulating capabilities and performance under wet conditions. But at the same time, it is heavy.
- Cut – Choose the cut based on the terrain and weather. If you are camping during a warm summer night in the middle of a forest, ventilation is the one that you need. Hence, you have to pick rectangular sleeping bags. But if the low temperatures are your primary concern, a mummy sleeping bag should be your priority.
Sleeping Pad
Next, you have to bring a sleeping pad. This is the one that acts as the mattress of your bed. It also possesses an insulating feature that prevents the cold from seeping to your skin. You don’t want to bring a large and bulky mattress during a camping trip. It might look comfortable and plushy, but they will render you cold.
Choose a sleeping pad based on its size and thickness. Make sure that your sleeping bag can fit on it. Moreover, please take a look at its R-value or its insulation rating. The higher the number, the more heat it can trap.
Other Sleeping Amenities
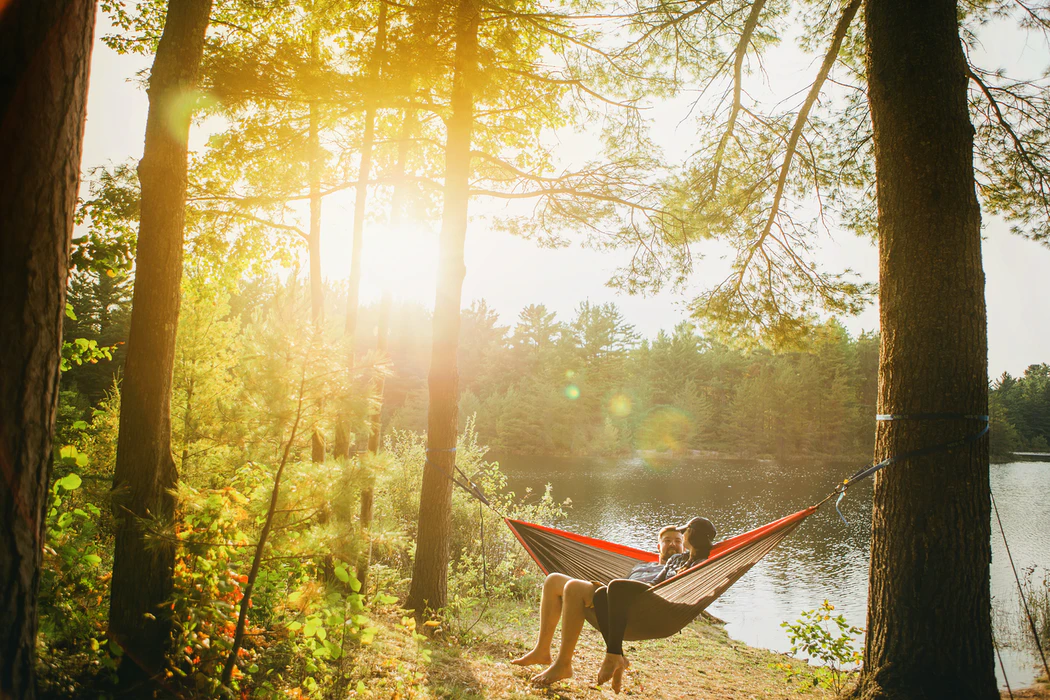
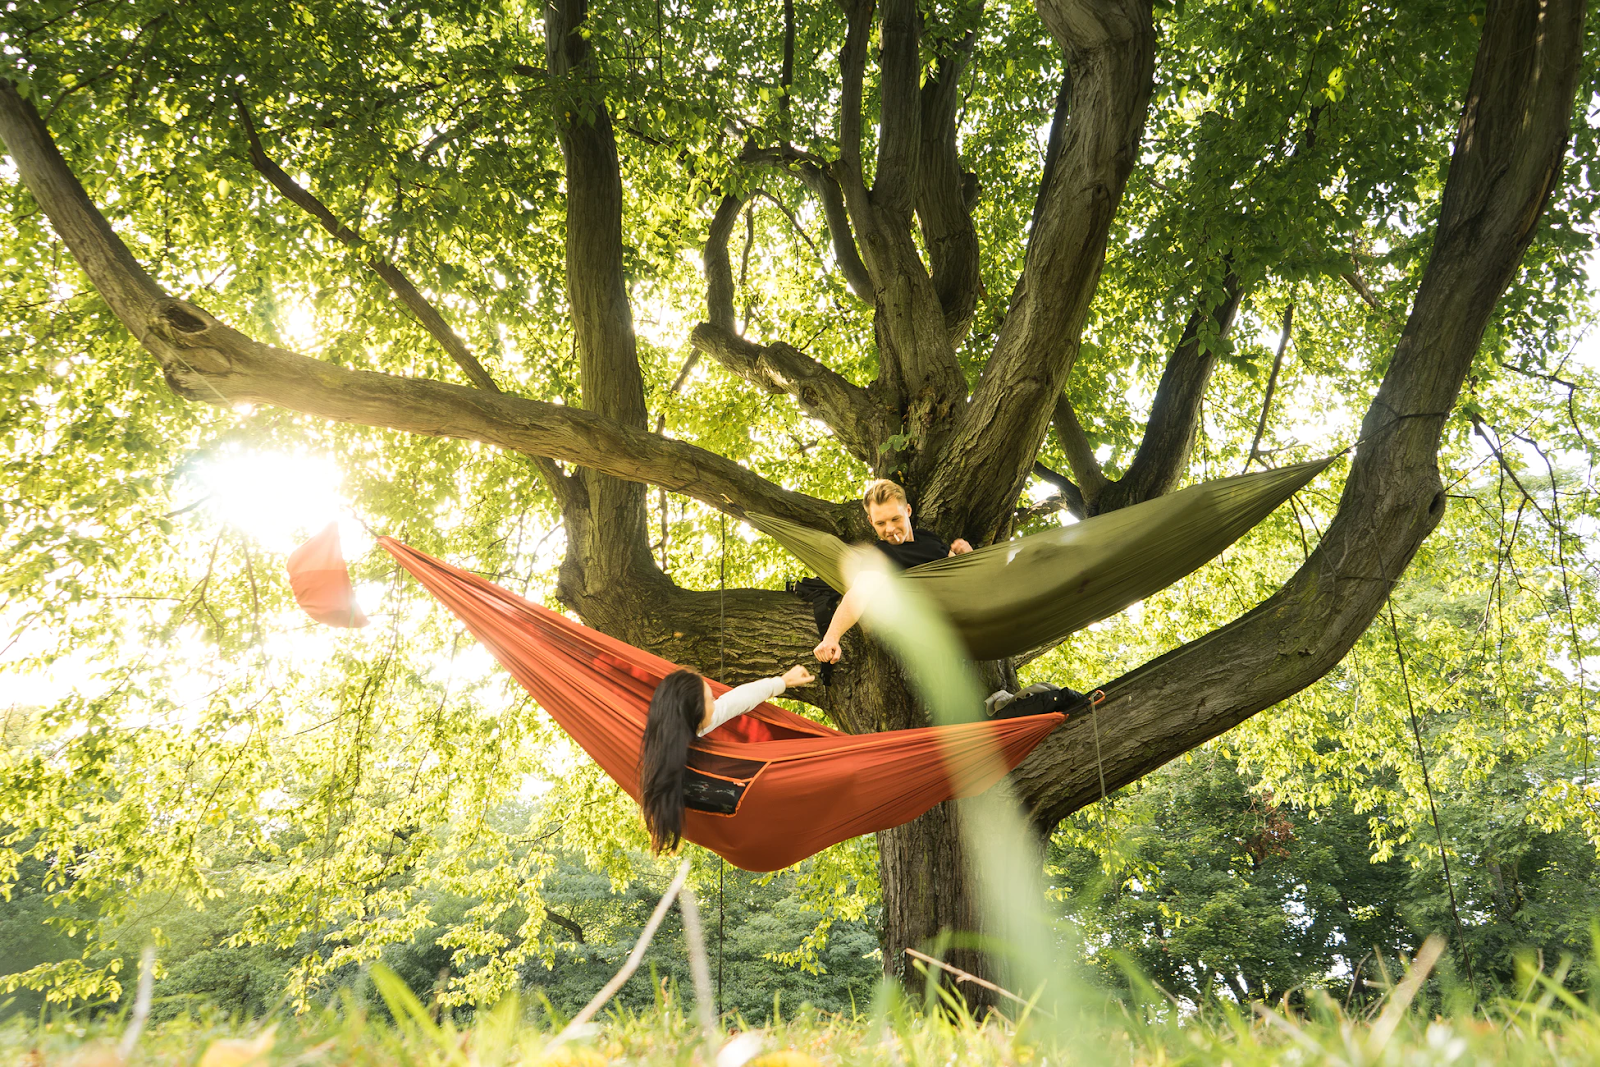
- Hammocks
- Camping pillows
- Ear plugs (if you are easily disturbed by noises)
- Cots
- Sleeping bag liners
- Sunshade, screen house, or tarps
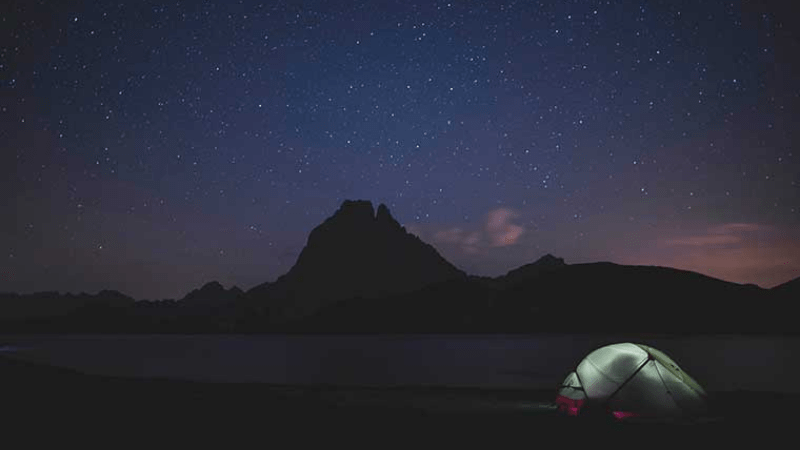
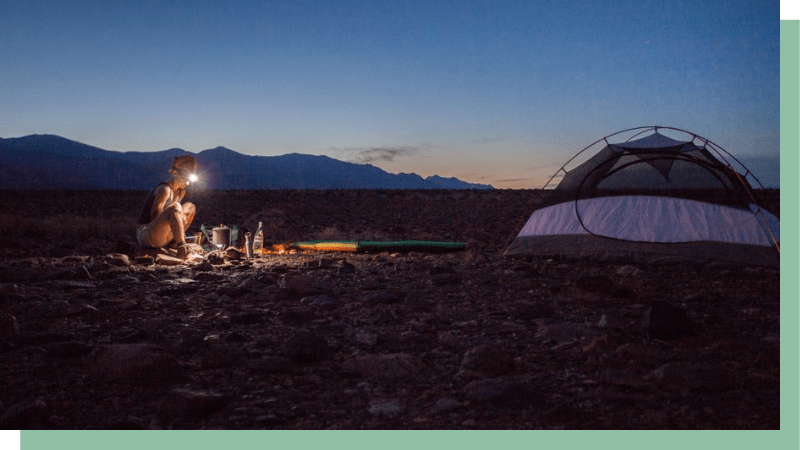
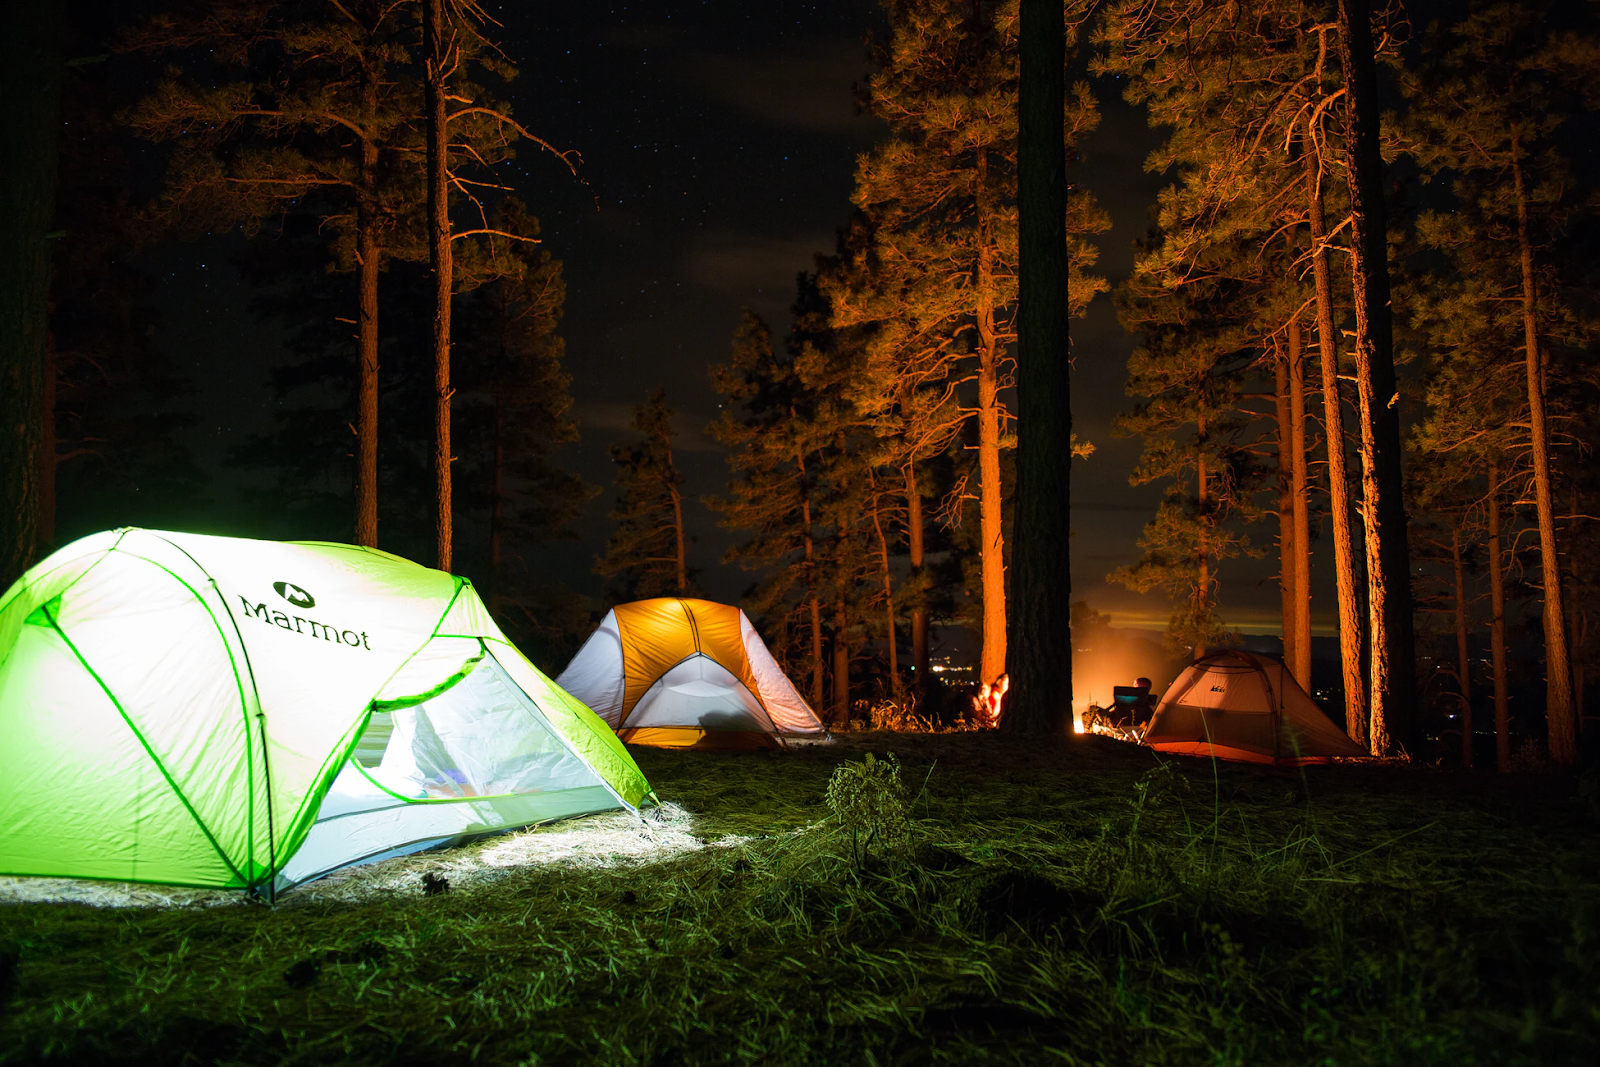
Illumination
The outdoors doesn’t have natural illumination, except for the sun. When it is night, the only light source you have is the moon. But that alone doesn’t provide you with the visibility you need.
Fortunately, we don’t lack the technology for illuminating our surroundings. Flashlights are the staple source of light here. However, if you want to be hands-free, headlamps are a must. They allow you to do various camping tasks without being bothered at all.
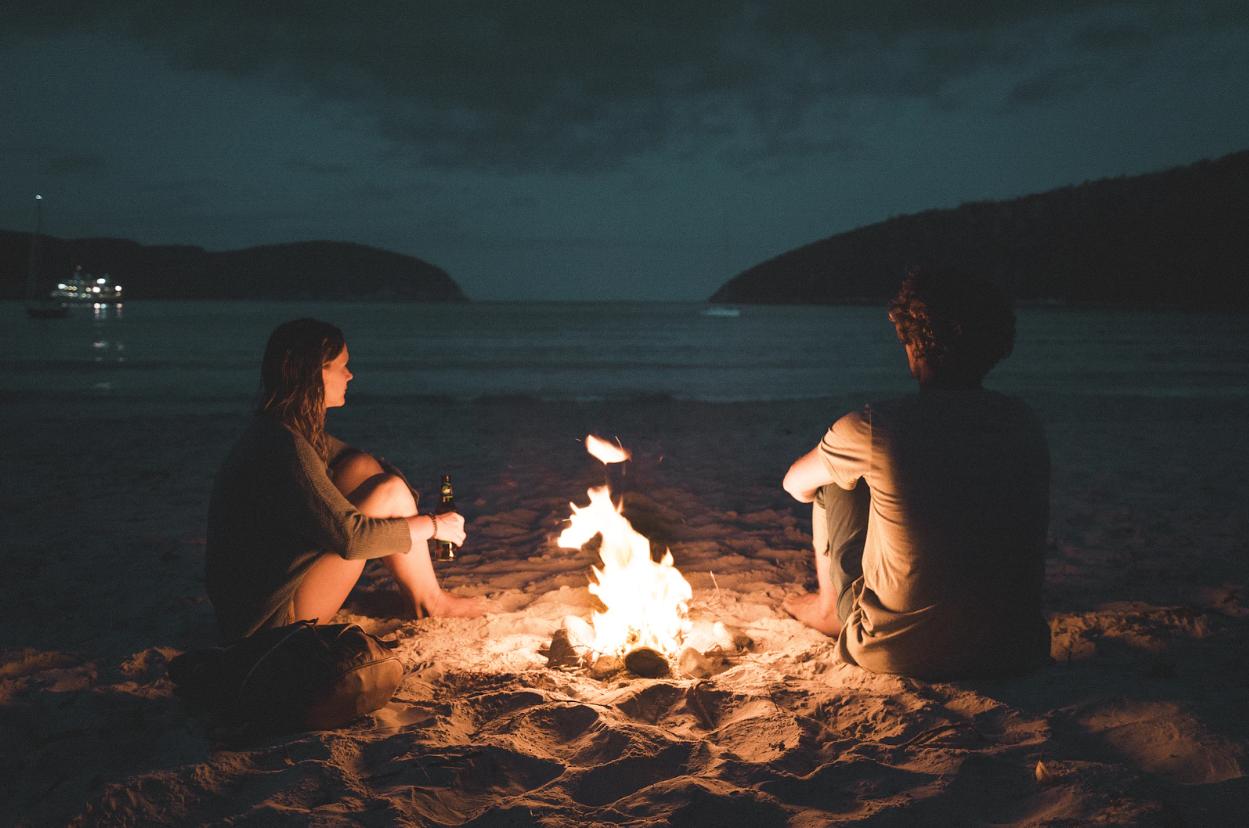
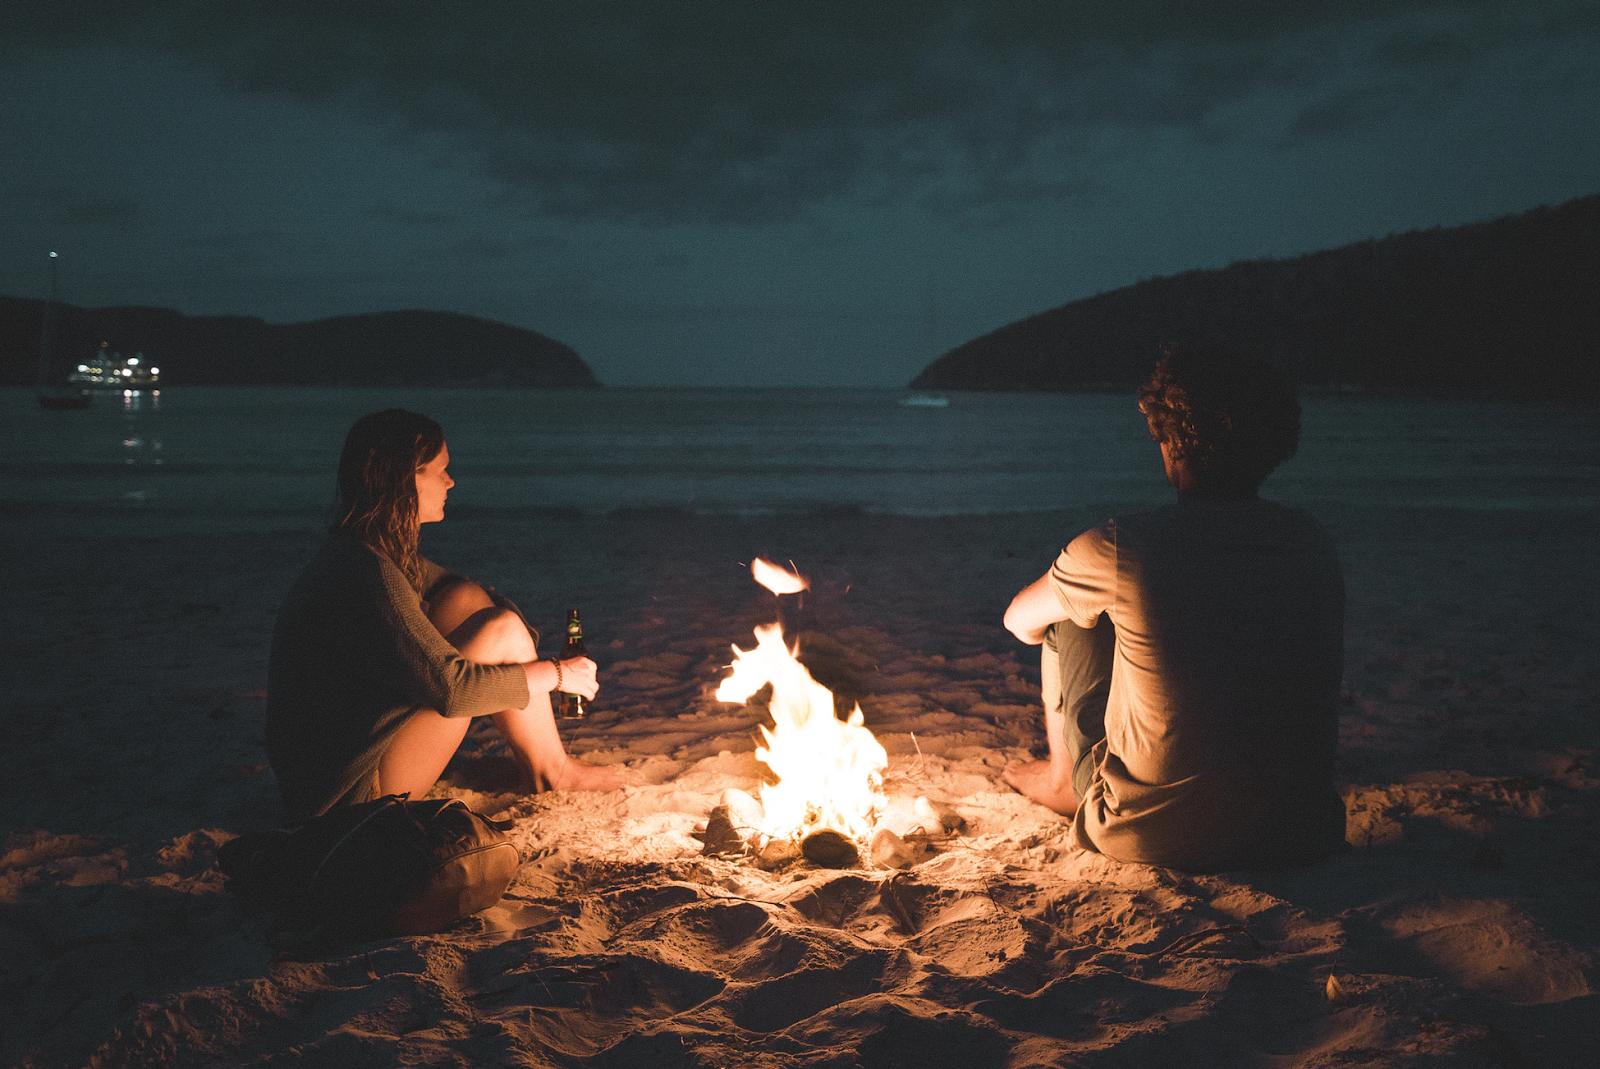
Lanterns are okay for providing ambient light. If you don’t have a lantern, you can build a campfire instead. But before you do this, you need to ensure that your camping grounds allow campfires. There are restrictions, especially in parks and protected areas.
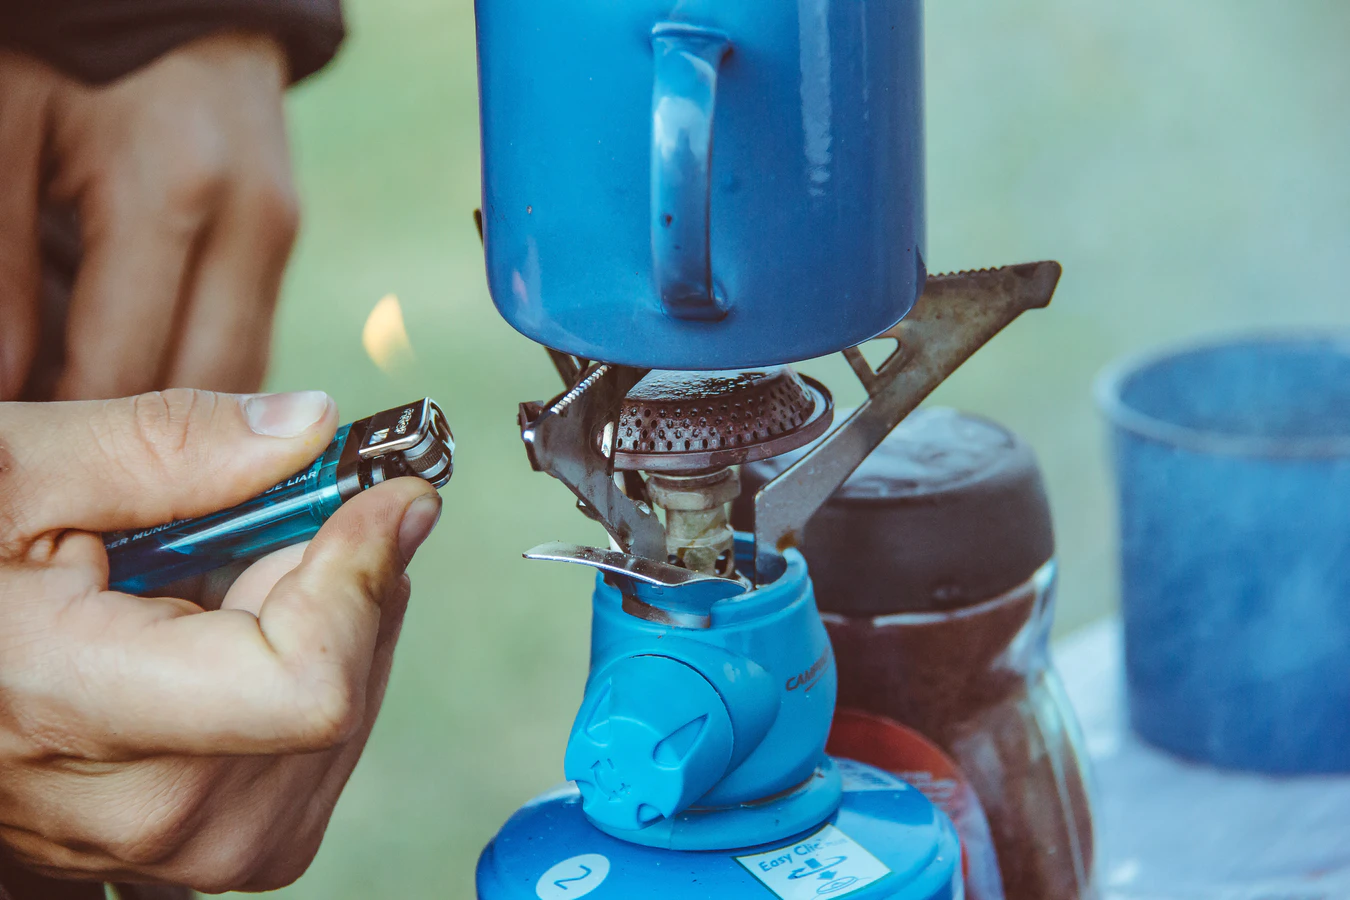
Stove
Another camping supply that you should bring is a camping stove. You need to eat, after all. You can’t survive the trip if you lack nourishment.
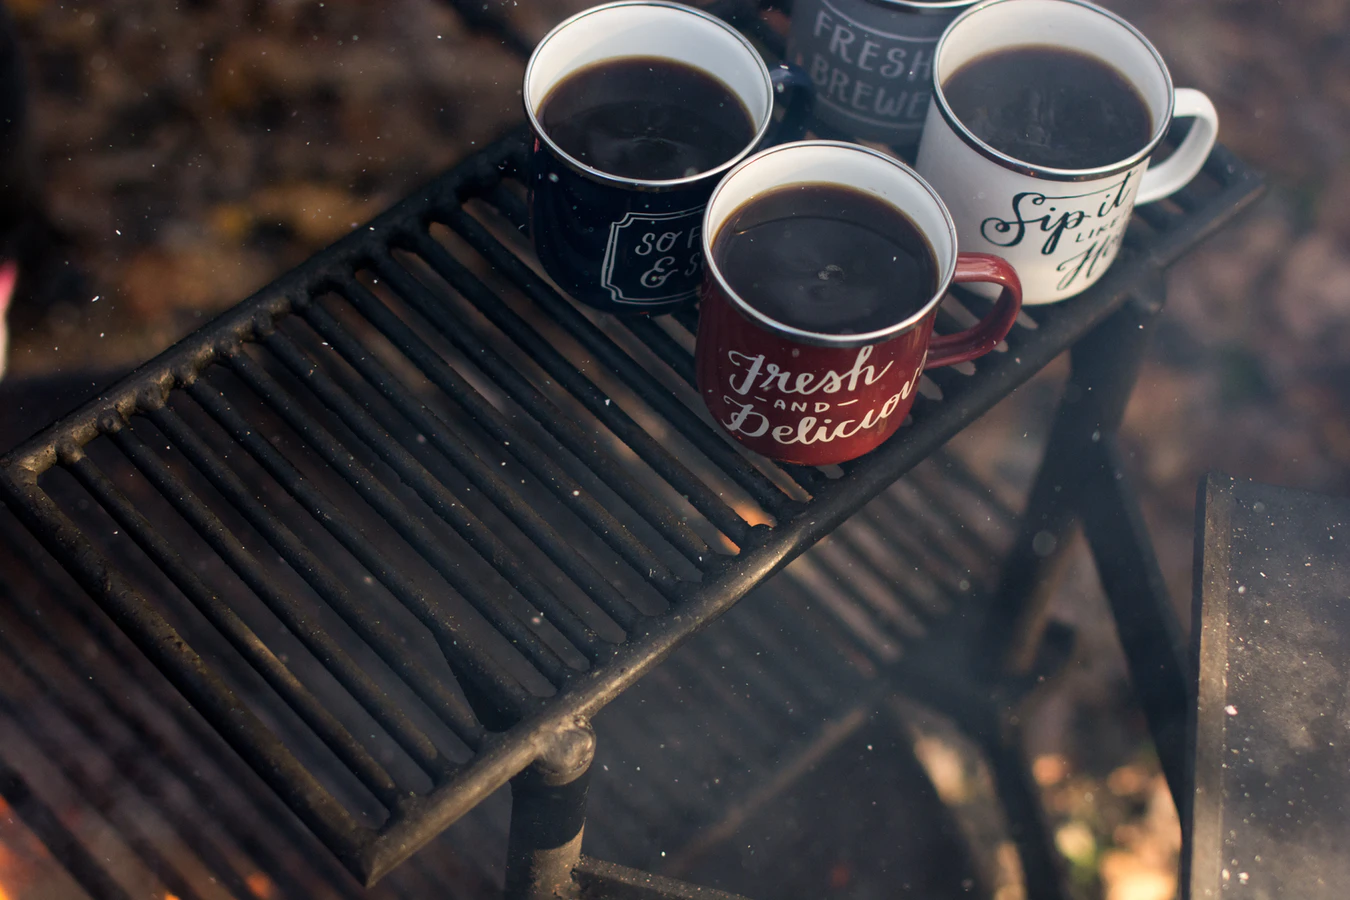
One of the recommended camping stoves is the traditional two-burner propane stove. This one works efficiently, even in cold conditions. It enables you to cook a myriad of delicacies–from your morning coffee down to your evening soup.
Of course, it would be prudent to bring several canisters of fuel. A stove is useless if you don’t have the juice to feed it. Don’t forget to pack lighters and matches, too.
Also, before you head out, try the stove in your home. You have to make sure that it is functioning properly!
Cooler
Camping is where cookouts happen. It is expected that food and booze will overflow there.
Carrying a cooler is not a bad idea, especially if your camping area is reachable by a vehicle. You don’t have to burden yourself from carrying a large and bulky container.
Of course, coolers are great for tailgate and RV camping. They enable you to store as many perishable and non-perishable ingredients as possible.
The best coolers have thick insulation. They can keep their contents cold and freezing even after a few days. The longer it can keep the ice, the better it can serve you.
But if you are heading to areas where there’s a need to walk, get a small and portable cooler instead. Again, you should never burden yourself with bulky items when trekking or trailing.
Water Filter
Water is one of the primary issues here. Considering that some of the campgrounds out there don’t have potable water, you have to make sure that you have the means to filter or treat it.
There are portable water filtration systems available in the market today. You should never consider them as a secondary amenity, as water is vital for your survival.
Also, don’t forget to bring water bottles with you. You need to store as much water as possible, especially if your trip will last for several days.
Cooking and Eating Utensils
As long as you have a cooler, bringing ingredients is not a problem. The only thing that you need to address is how you are going to cook and prepare them.
You see, it is not enough if you are going to bring a stove. You will not be able to prepare anything with this amenity alone. The following utensils should be present, too.
- Pots and pot holders
- Frying pan
- Cooking knife
- Plates and bowls
- Spoons, forks, or sporks
- Cups and mugs
- Cutting board
- Scrub and sponges
- Biodegradable soaps
- Recycling bags
- Towels
Camp Chairs And Tables
Although some people find these items optional, I think you should consider bringing them.
Of course, there are specific applications where having tables and chairs is fantastic. Portability is an issue here, so you can’t expect that these things are suited for hikes and extensive trails. But if the destination is within reach of your vehicle, you are free to bring them.
There are numerous options for outdoor tables and chairs. For tables, make sure that they have a portable construction. If possible, get something that can be collapsed or disassembled. Also, don’t forget the size of the table. Pick something that would accommodate your preferences and needs.
For chairs, go for the small ones. You don’t need large chairs whenever you are camping. Same as the tables, they have to be portable, too.
Repair Tools and Utilities
Prevention is better than cure, right? It is an adage that we should carry every time a camping trip is coming our way.
It is one of the reasons why there’s a need to invest in durable and sturdy camping gears. You can easily prevent inconveniences by having reliable camping equipment. You don’t have to bother with their survivability anymore as they are designed to withstand punishment.
But of course, nothing is inevitable when it comes to outdoor pursuits. Even a leisure activity like camping is not impervious to SHTF situations. Damages on the tents and sleeping bags are within the realms of possibility. Once they occur, you must be prepared enough to deal with them.
Consider yourself as a weekend warrior every time you set out off the grid. You got to be prepared for repairs and adjustments whenever there are malfunctions and damages in your gears.
The following utilities can help you with these tasks.
- Repair kits for sleeping bags
- Pole repair sleeve
- Hammer or mallet
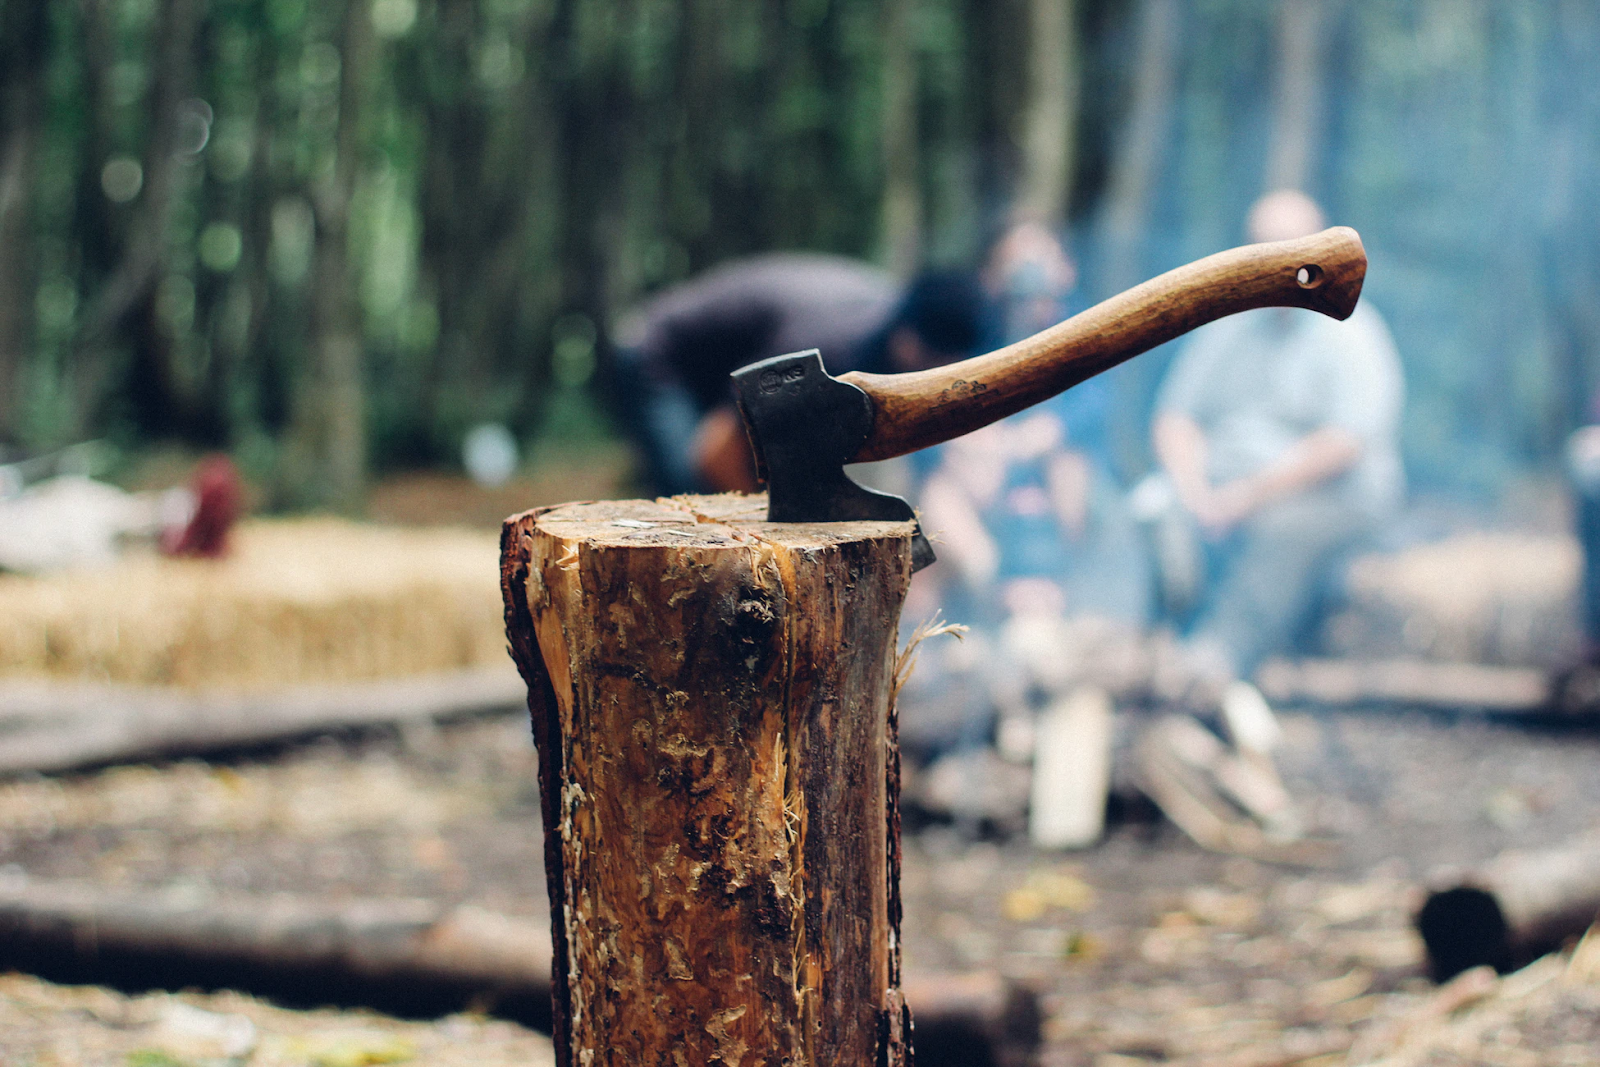
- Axe or saw
- Duct tape
- Extra ropes and stakes
- Duct tape
- Multi-tool
- Small broom
Keep in mind that you are not required to bring all of these items. Just pick what you deem necessary.

Hygiene And Sanitation
Just because you are going on an outdoor trip doesn’t mean that you are free to get dirty and smelly. You still have to mind your hygiene, especially if you are camping with your partner or hiking with a group.
As an outdoor goer, you have to make sure that you don’t forget about taking care of yourself. That’s one of your responsibilities. Always remember that you are more comfortable if you are clean and fresh.
Moreover, sanitation makes you less susceptible to sickness. No amount of gears can protect you against small invaders like bacteria, germs, and viruses. With the coronavirus pandemic on hand, being extra cautious about your health is necessary.
Bring the following amenities for hygiene.
- Toilet power
- Toothbrush and toothpaste
- Menstrual items
- Toiletry kit
- Towel
- Hand sanitizer or alcohol
- Face masks
Safety and Protection
You are required to be extra safe while camping. There’s no denying that every now and then, something unexpected can happen out there.
Fortunately, you always have the means to protect yourself from the possible dangers. Essential knowledge about your location and terrain will let you identify what kind of safety gear you have to pack. For instance, if you are camping in a park where there is a bear population, you have to bring a bear spray.
Here is the checklist for every survival and safety utilities that a camper should get.
- First-aid kit
- Survival knife
- Two-way radios or walkie talkies
- Maps, compass, and navigation equipment
- Insect and animal spray
- Sunscreen lotion
- Survival whistle
- Flashlight
- Rescue mirror
- Shovel
- Paracord
- Satellite phones
Safety Tips
- Before your trip, make sure that you have informed someone about your activity. Tell them where you are heading, the date of your travel, and the people who are with you. Also, don’t forget when is the expected date of your return. If that day passes and you didn’t arrive home yet, your trusted individuals can notify the authorities.
- Don’t veer away from the prescribed path. Venturing too much can get you lost. There’s a possibility that you’ll get injured if you explore uncharted areas. Try to avoid cliffs and deleterious formations such as sharp rocks and branches.
- Check the weather forecast. Do not go out if the atmospheric conditions are unfavorable.
Conclusion
I do hope that you pay attention to this grand checklist. For starters, this guide is extremely beneficial as it covered all the items that you need to pack for your first camping trip.
With them around, things will be smooth and fancy.
Don’t forget to enjoy the experience. Good luck and have fun!