Going camping can be a great way to get away from the hustle and bustle of everyday life, but it can also be a pain if you’re not prepared. Here are a few tips and tricks to make your camping trip more efficient and easier.
Why efficiency is key when camping
Efficiency is key when camping for a number of reasons. When you are efficient, you save time, money, and energy. This is especially important when camping because it allows you to enjoy the outdoors without having to worry about wasting resources.
When you are efficient, you save time by being able to do more in less time. This is important when camping because it allows you to spend more time enjoying the outdoors and less time setting up camp. In addition, being efficient saves money by helping you avoid buying unnecessary items or overpacking too many camping gears. Finally, efficiency conserves energy so that you can have a sustainable camping trip that doesn’t require too much effort to maintain.
There are many ways to be efficient when camping. One way is to plan ahead and make a list of what you need before you leave for your trip. We cover planning extensively in our beginners’ camping guide.
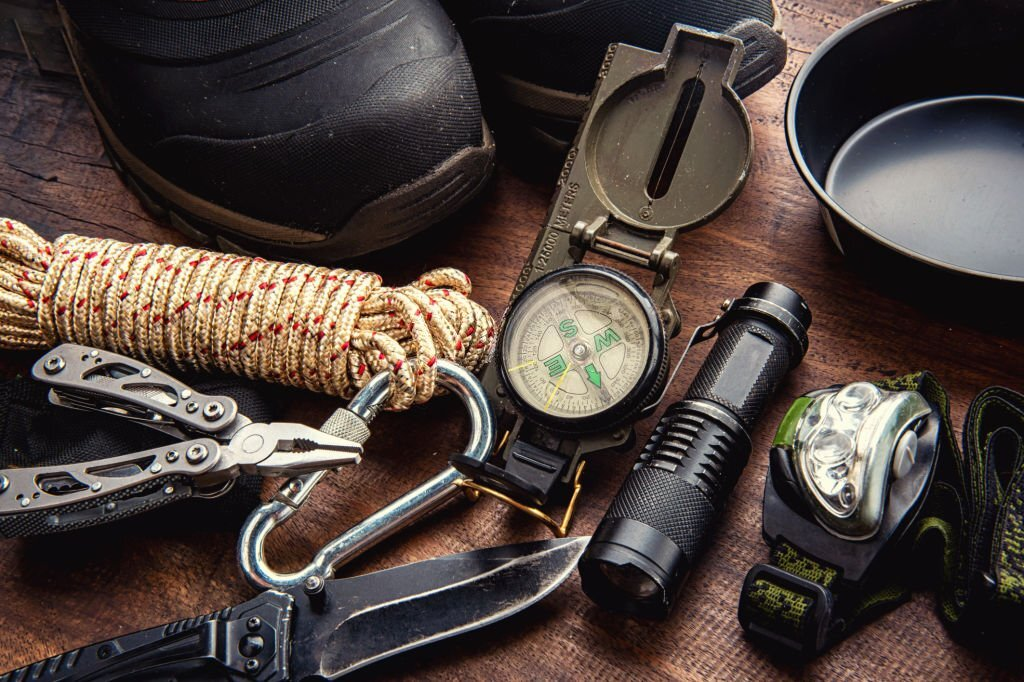
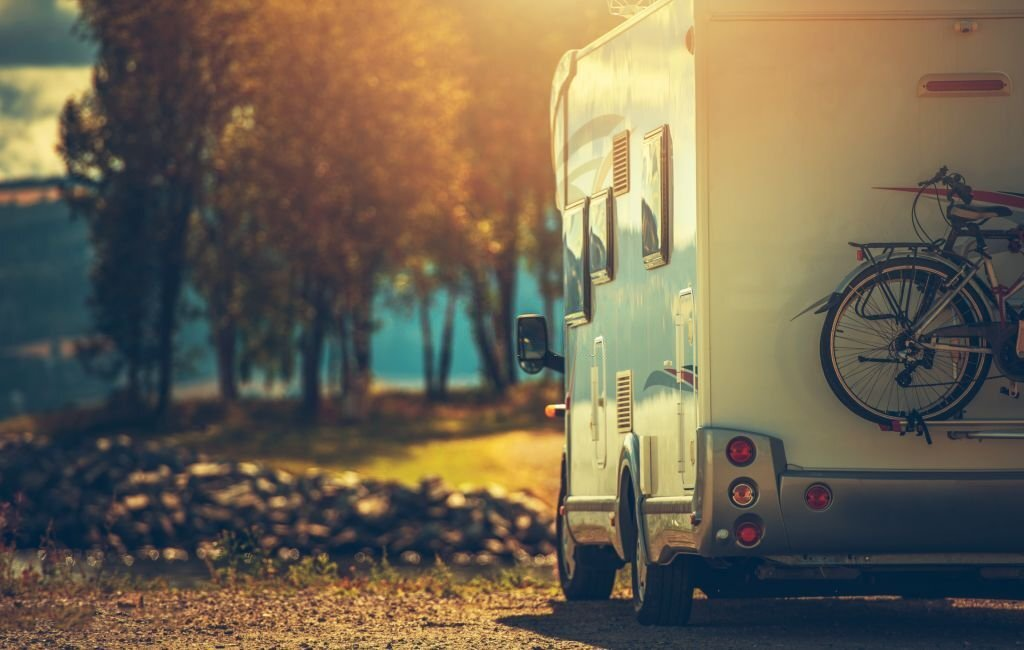
Packing list: what to bring (and what not to bring)
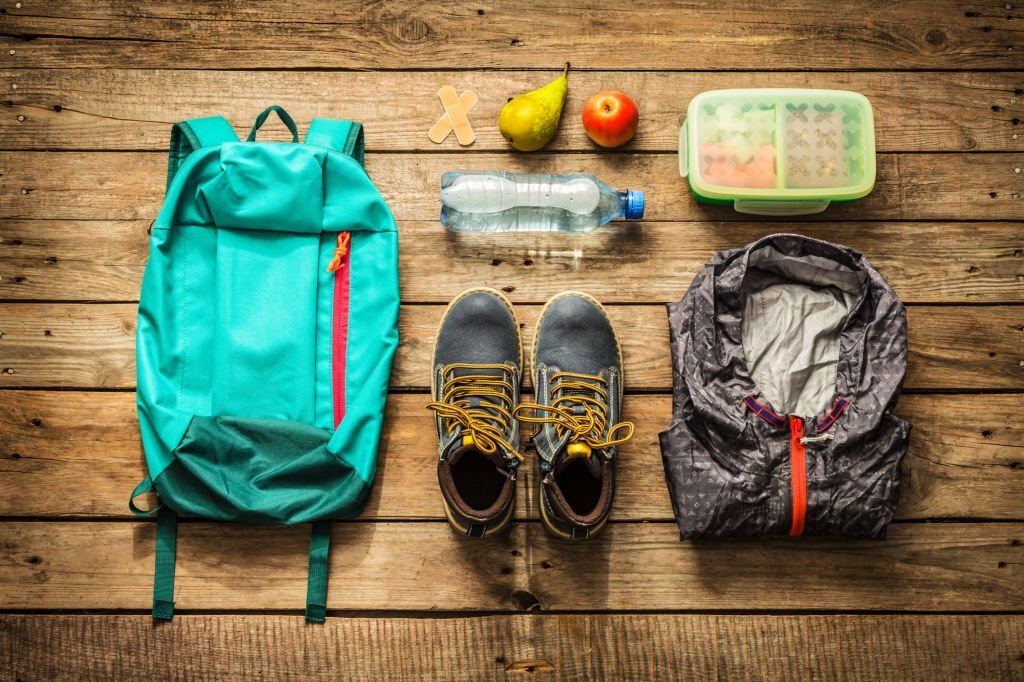
When packing for a camping trip, there are some essential items you will need to bring with you. This includes:
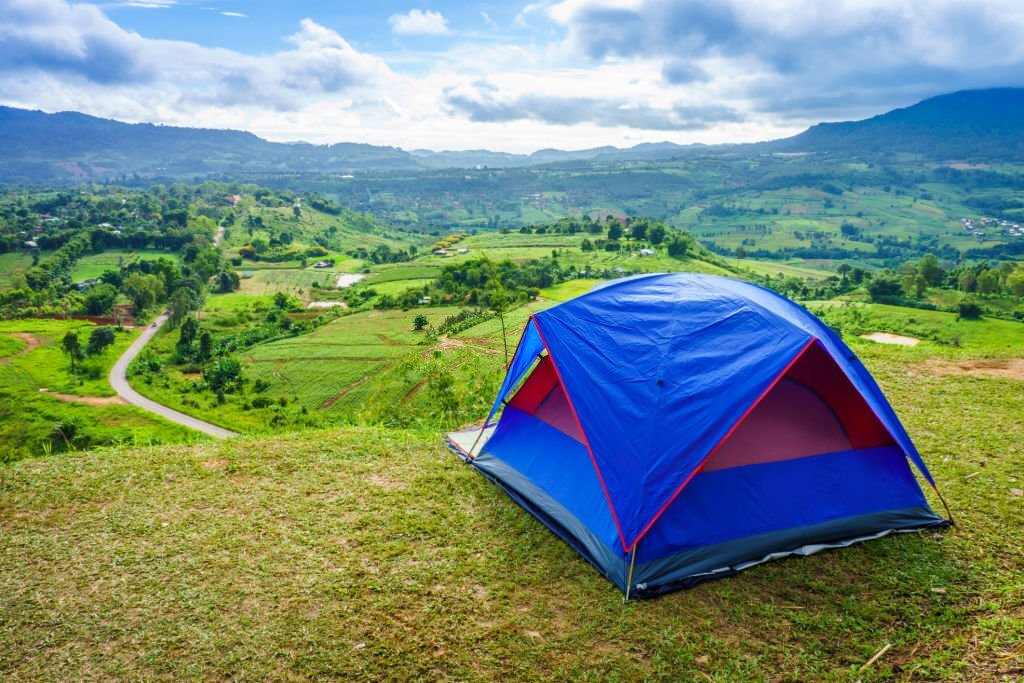
- a tent
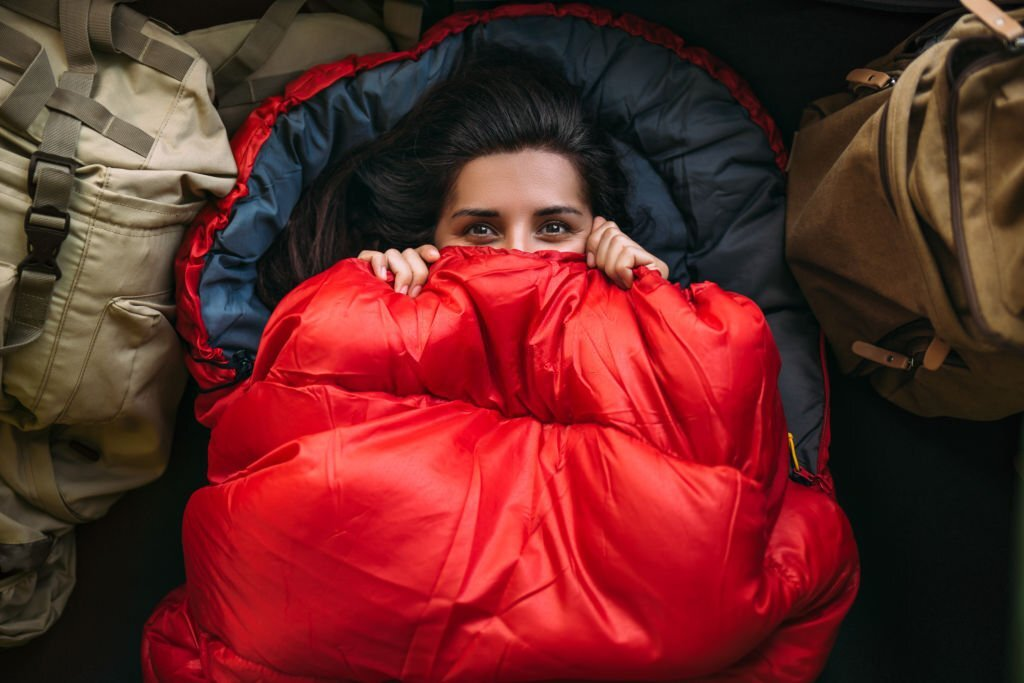
- sleeping bag for camping
- food and water
- camping cook stove; and
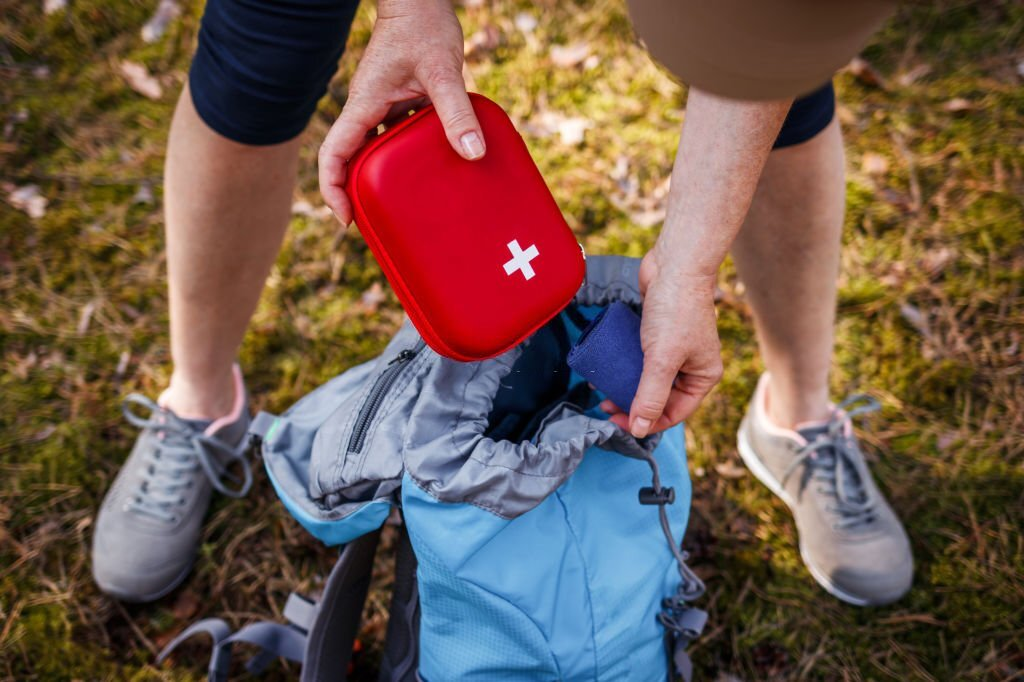
- first-aid kit.
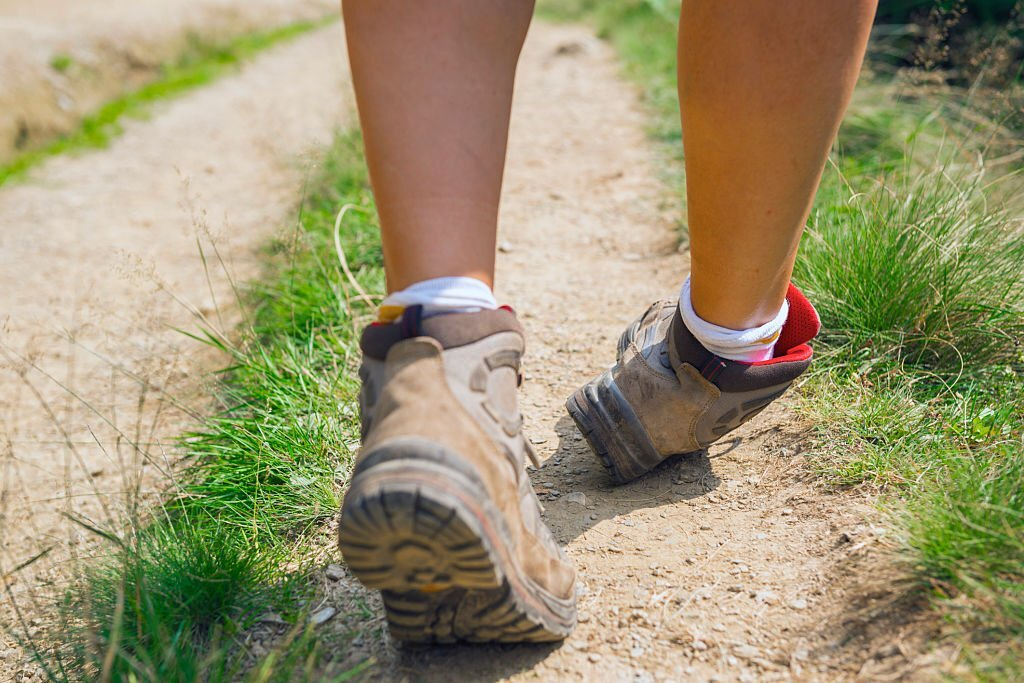
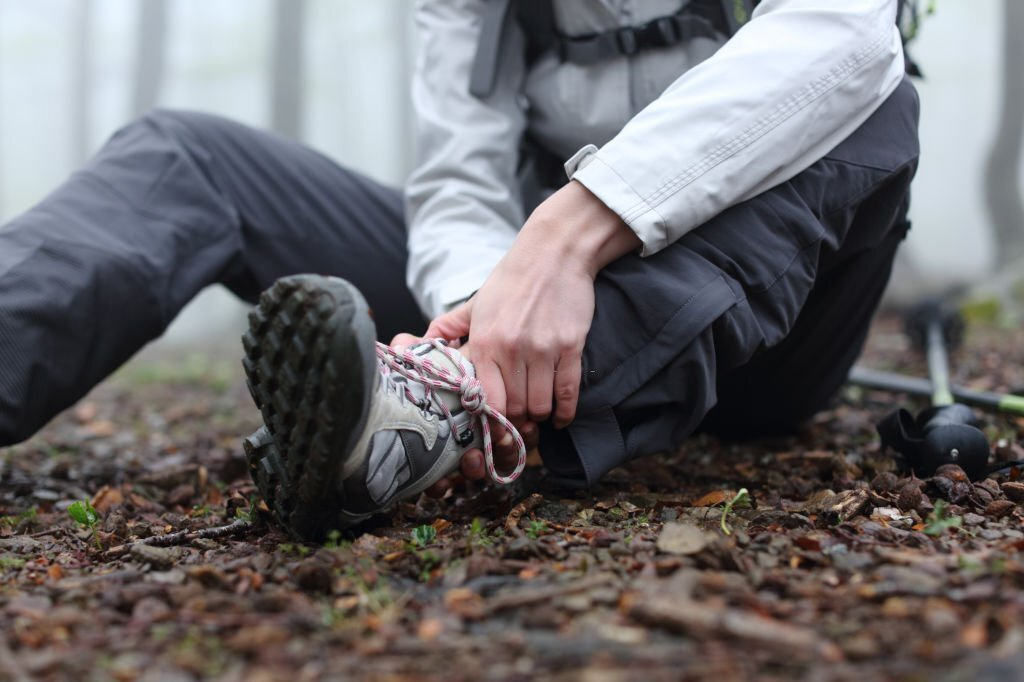
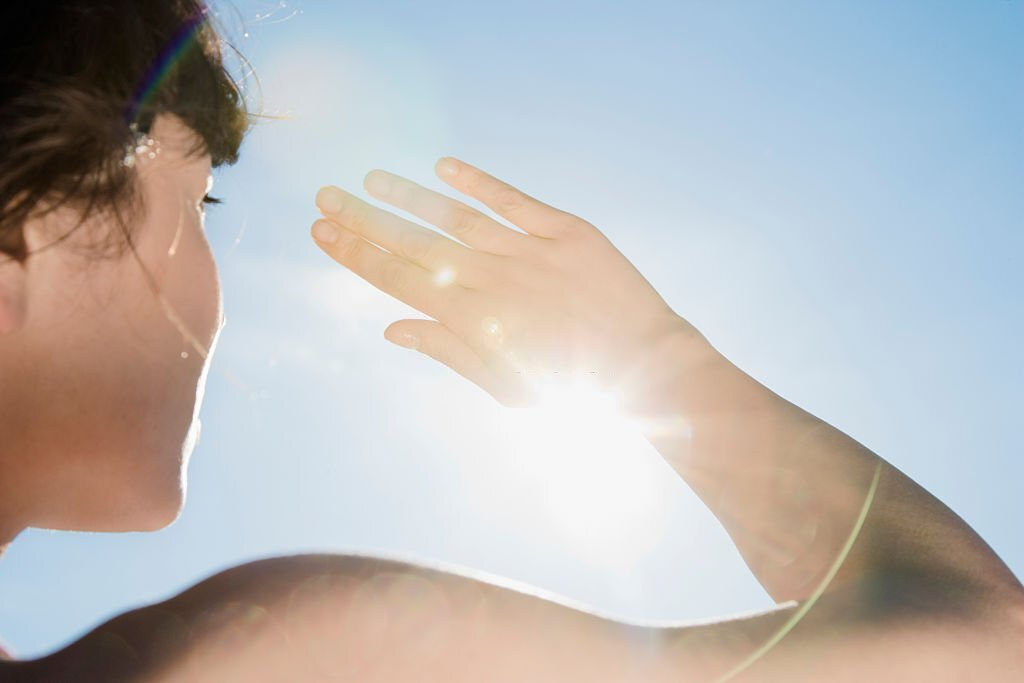
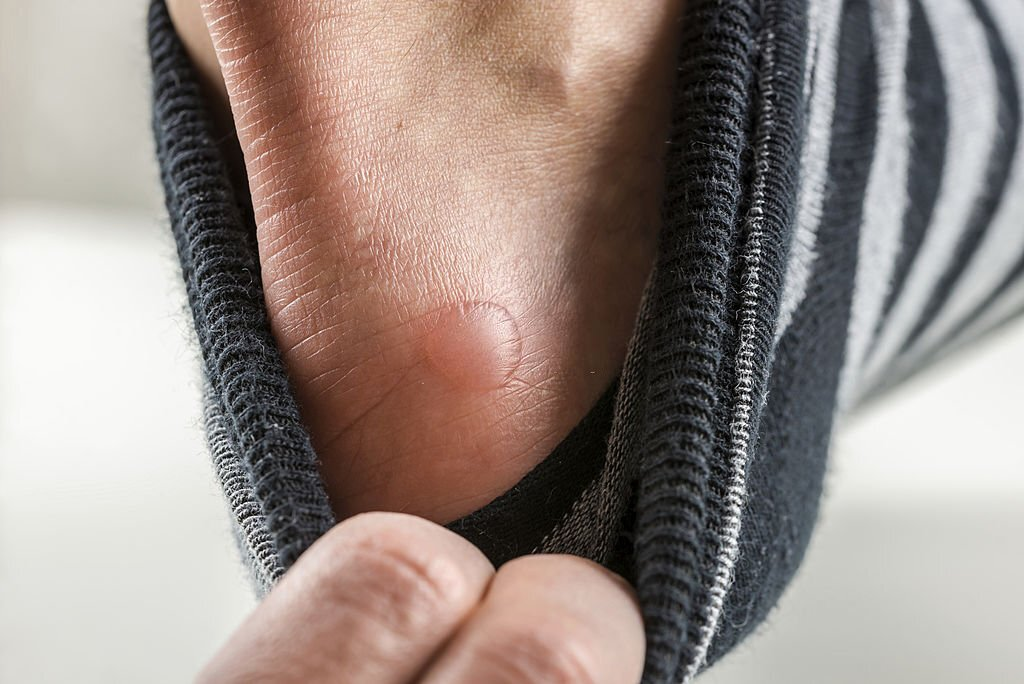
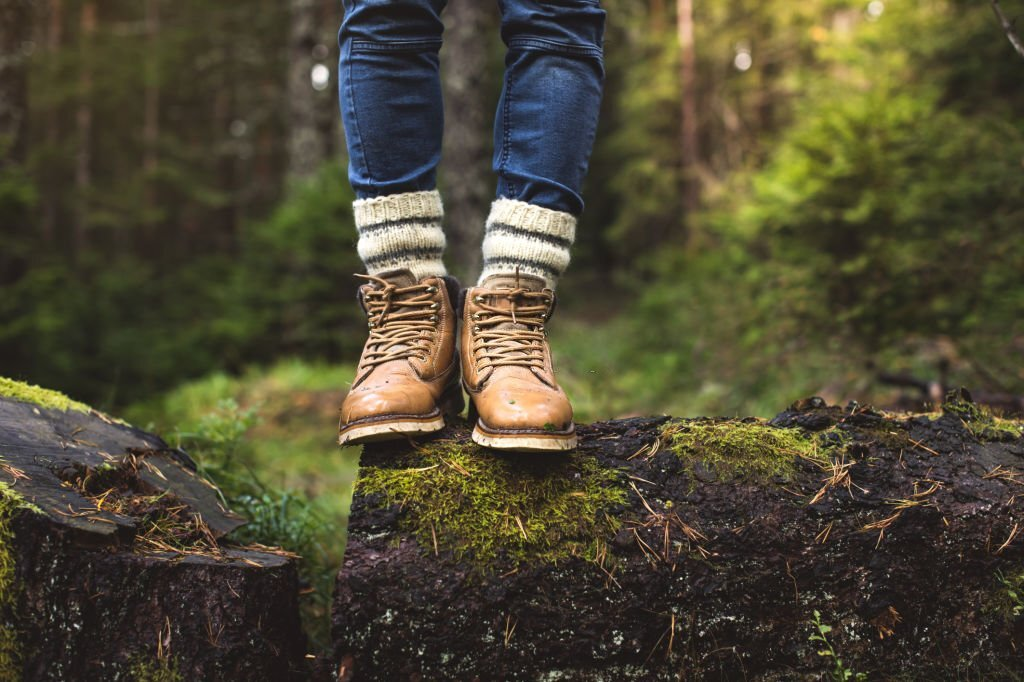
You will also need to pack clothing appropriate for the weather conditions and sturdy shoes.
There are some items you should leave at home, such as your cellphone and laptop. Not only do these devices not work in most camping areas, but they can be a distraction from enjoying the great outdoors. More on enjoying the outdoors later!
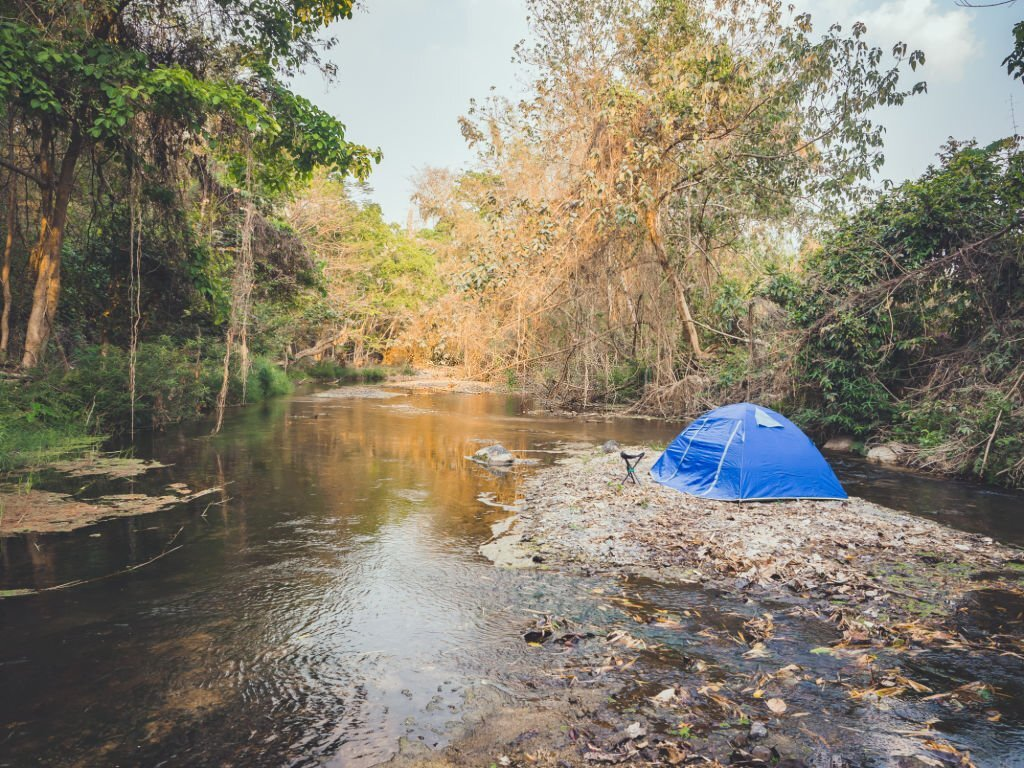
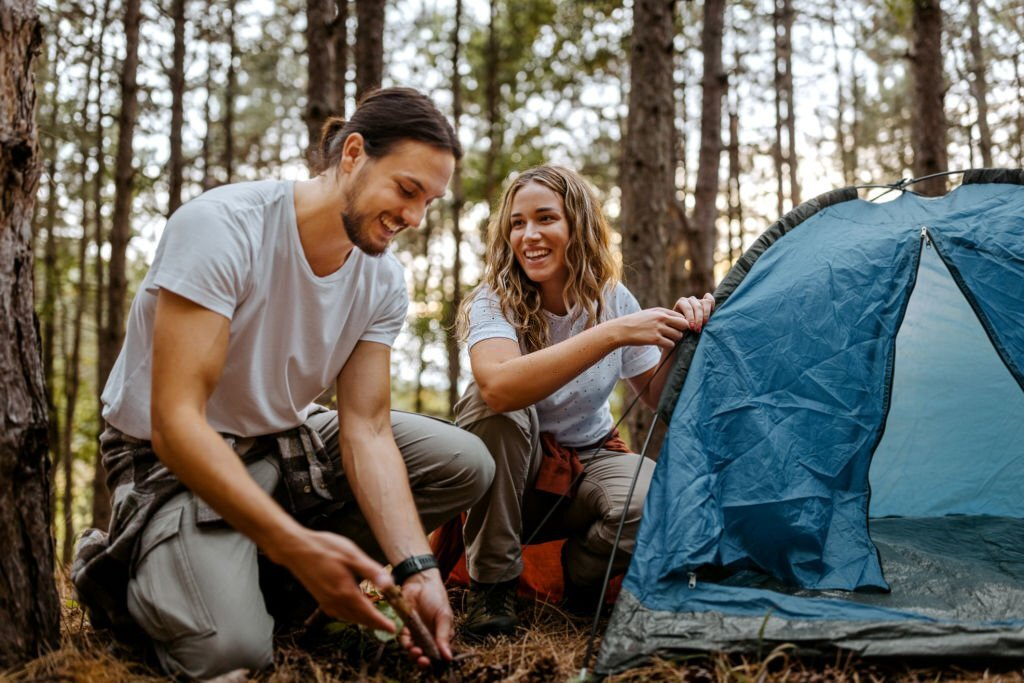
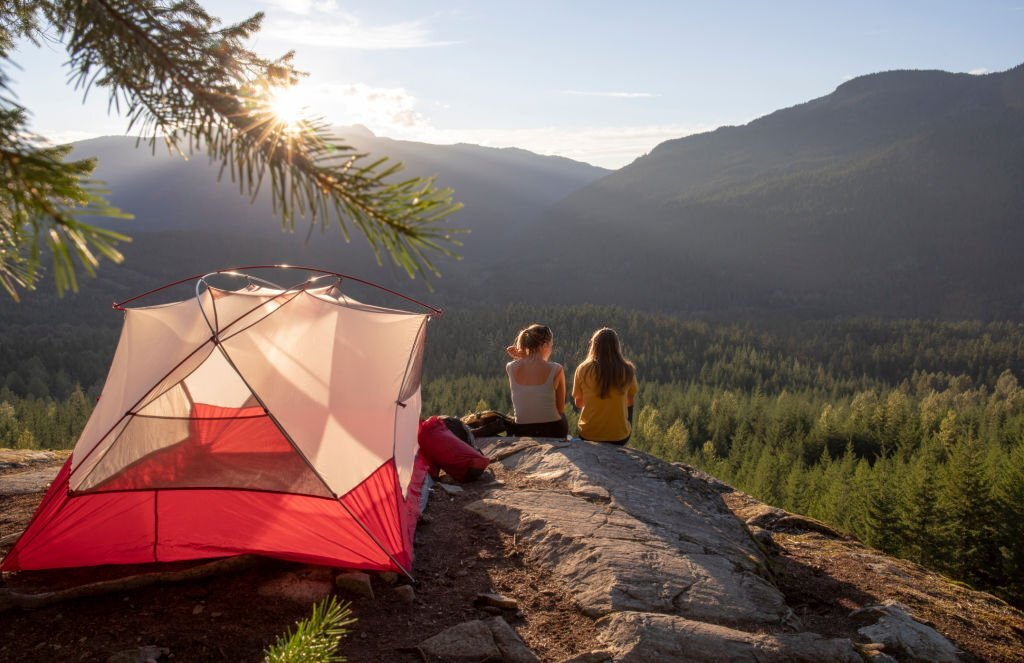
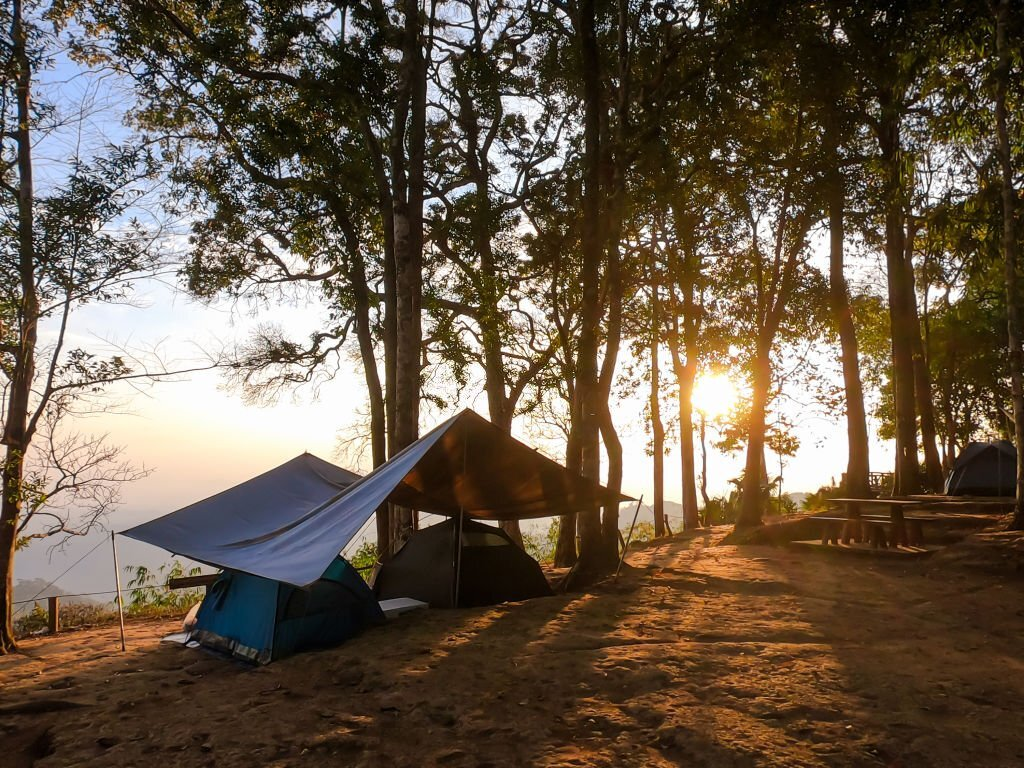
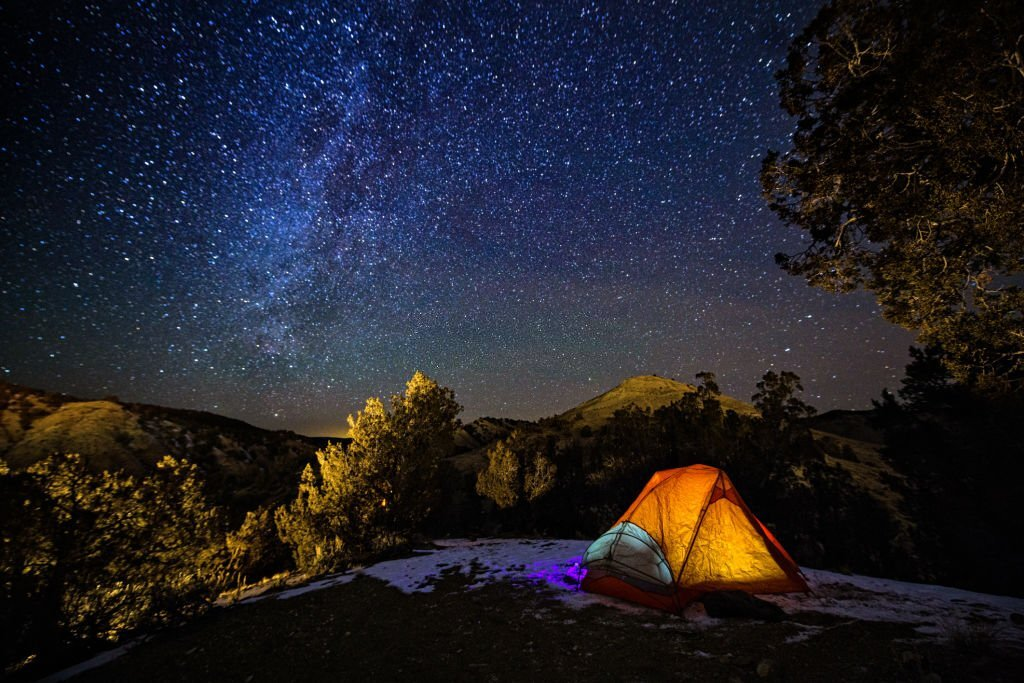
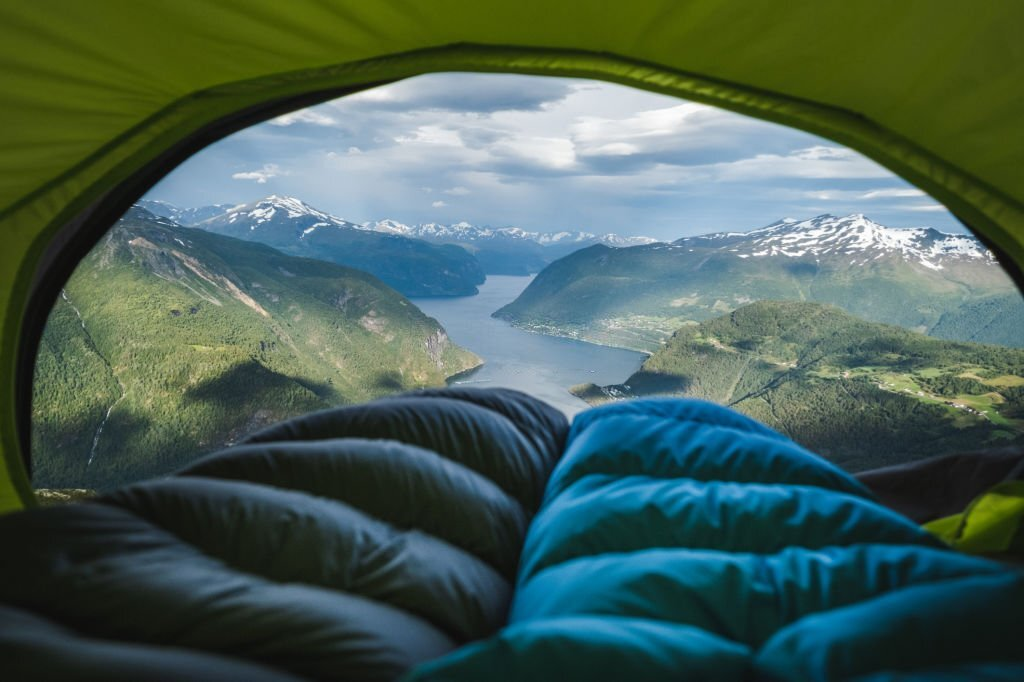
Setting up camp: the best way to use your space
When it comes to setting up camp, there are a few key things to keep in mind in order to make the most of your space. First, it’s important to choose a level spot to set up your tent. This will help ensure that you and your belongings stay dry in case of rain or dew. Once you’ve found the perfect spot, stake down your tent and start unpacking.
As you unpack, be sure to keep an eye on the placement of your belongings. If possible, try to keep heavier items closer to the center of the campsite and lighter items towards the perimeter. This will help keep things balanced and prevent your tent from tipping over if something gets knocked into it.
Finally, once everything is unpacked and in its place, take a step back and assess your campsite.
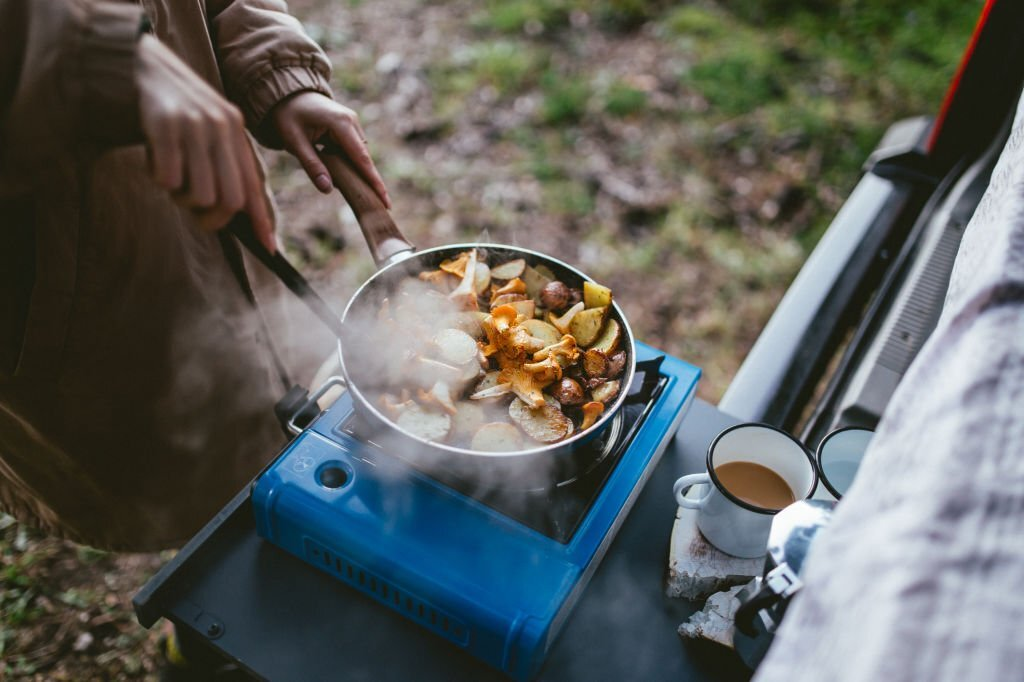
Food and water: how to best store and use them
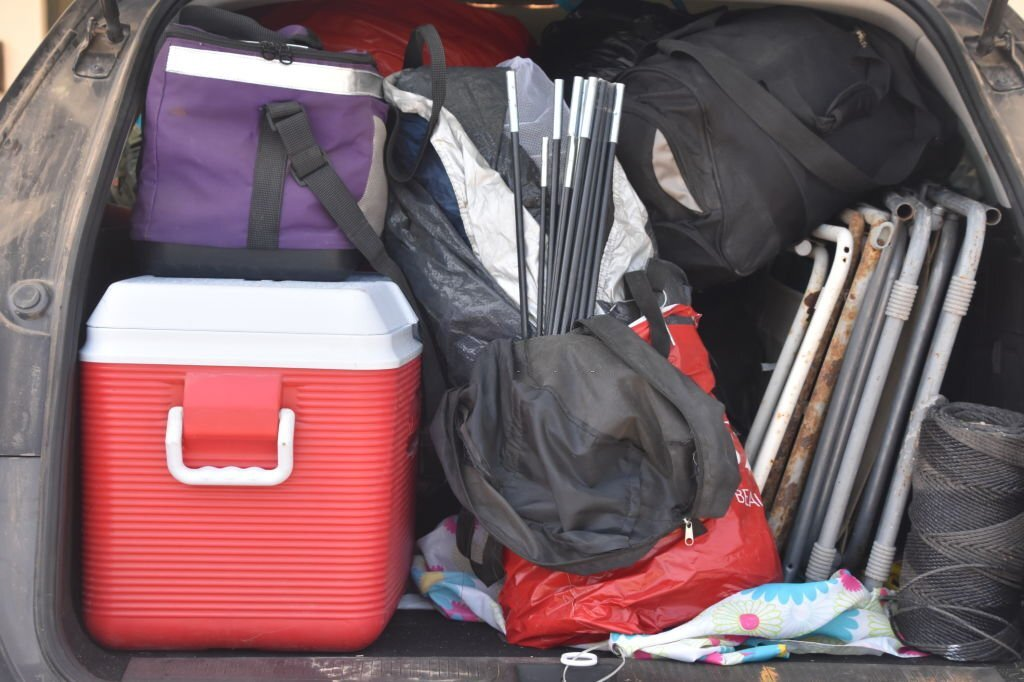
One of the most important things to consider when camping outdoors is food and water storage. Here are a few tips to help make your experience more efficient:
- Store food in airtight containers and keep them off the ground. This will help keep critters away and prevent spoilage.
- Freeze meat and other perishables before packing them for your trip. This will help them stay fresh longer.
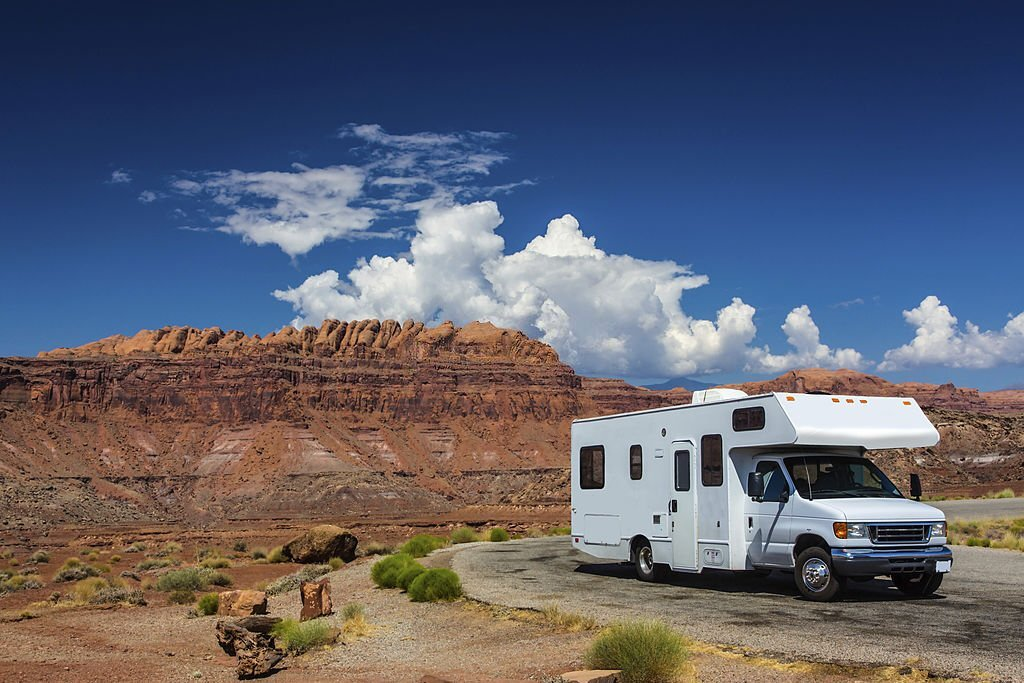
- Bring along a portable camping cooler or fridge to store food and drinks in. This will come in handy if you’re camping in a hot climate.
- Stock up on non-perishable items. Like canned goods, dry goods, and snacks that don’t require refrigeration.
- When it comes to water, bring along more than you think you’ll need. Store it in large containers that are easy to access.
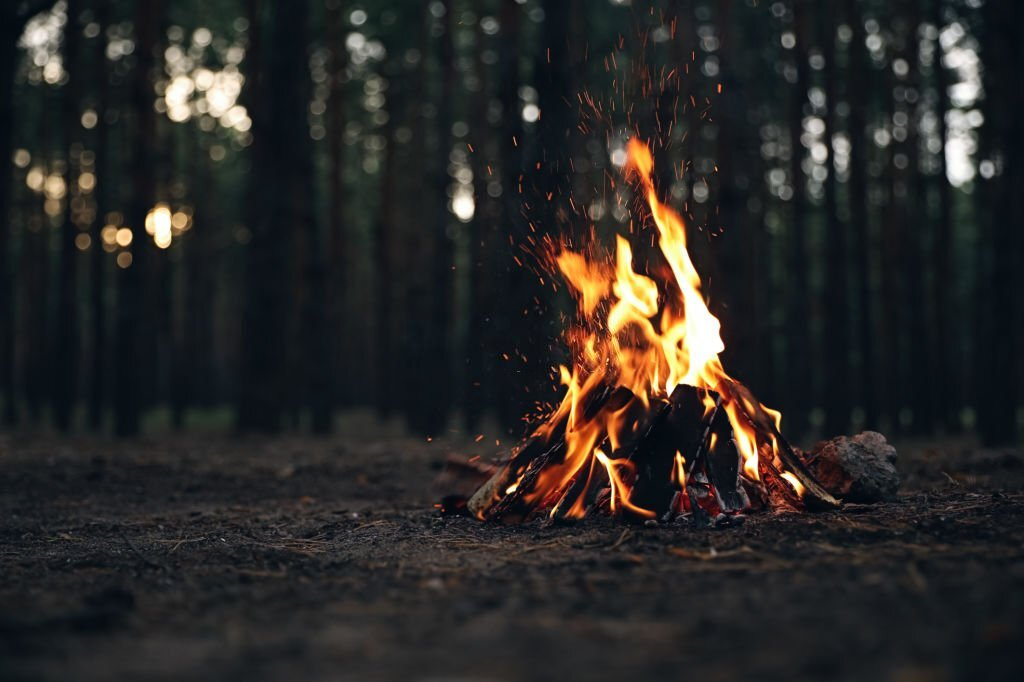
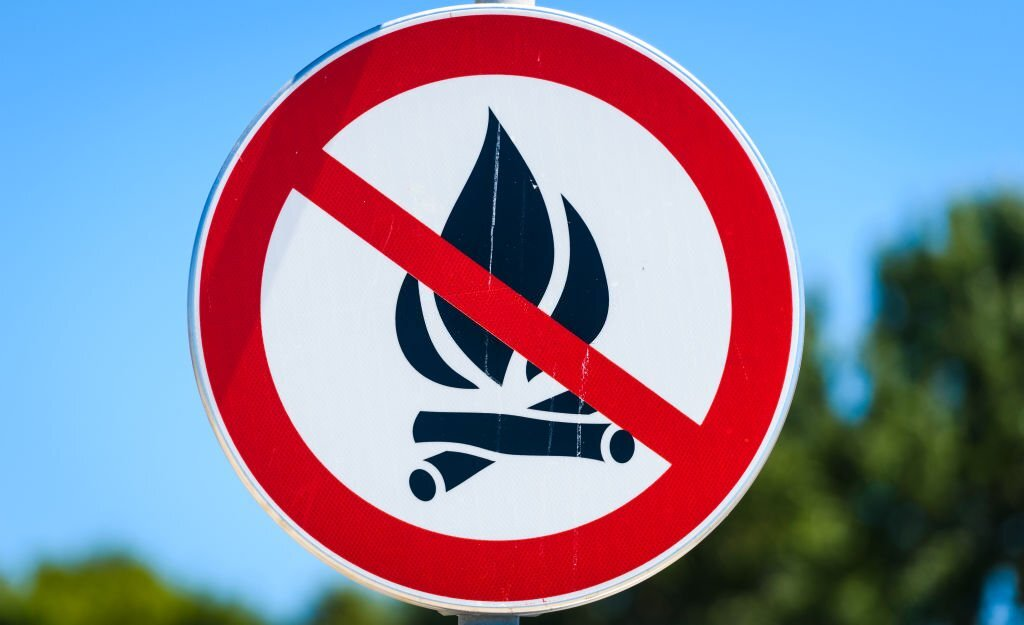
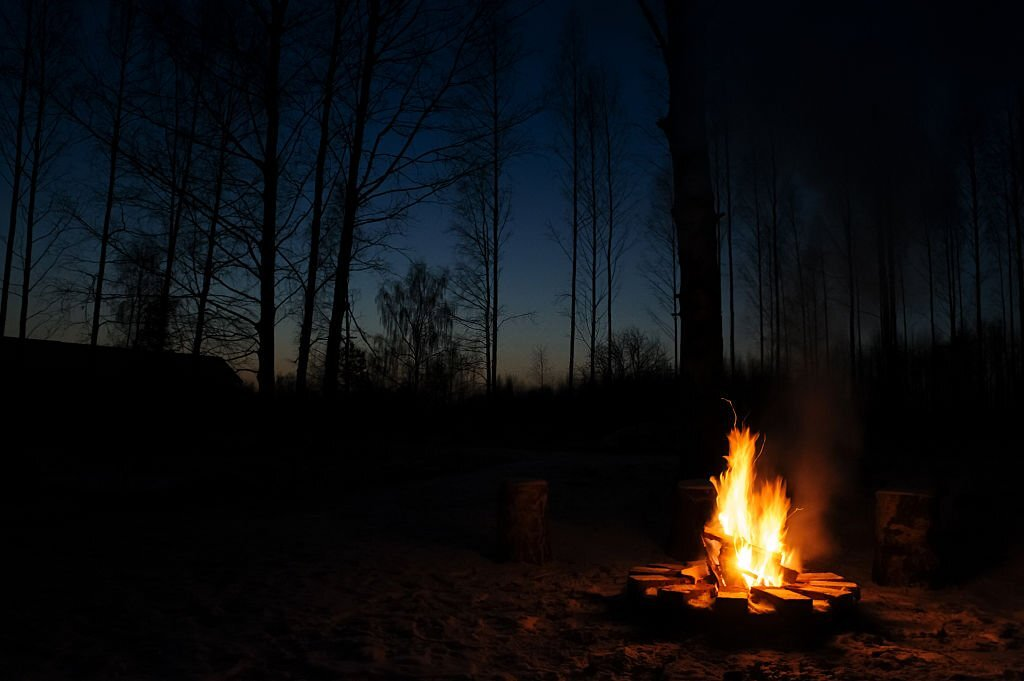
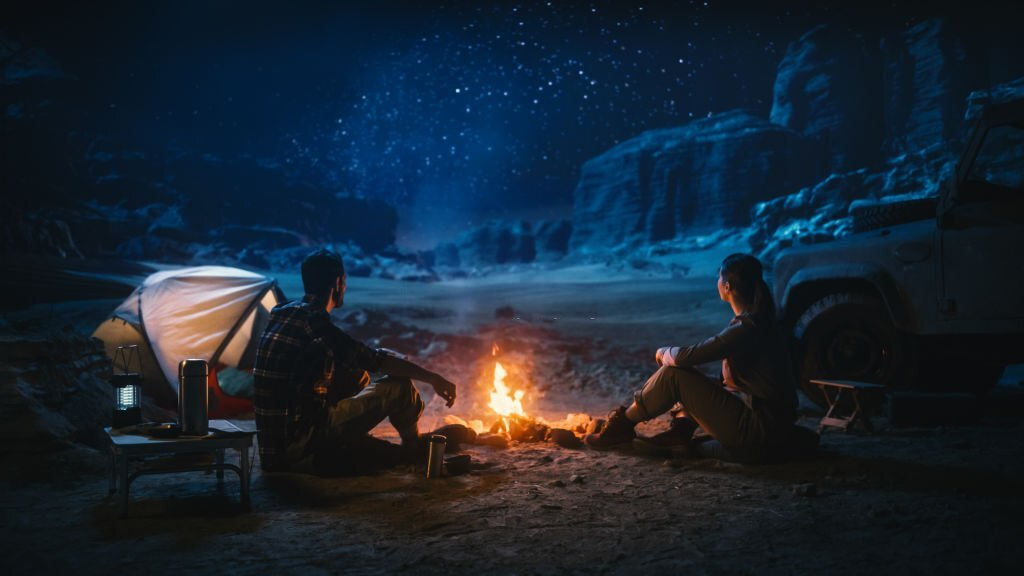
Fire: starting and maintaining a fire
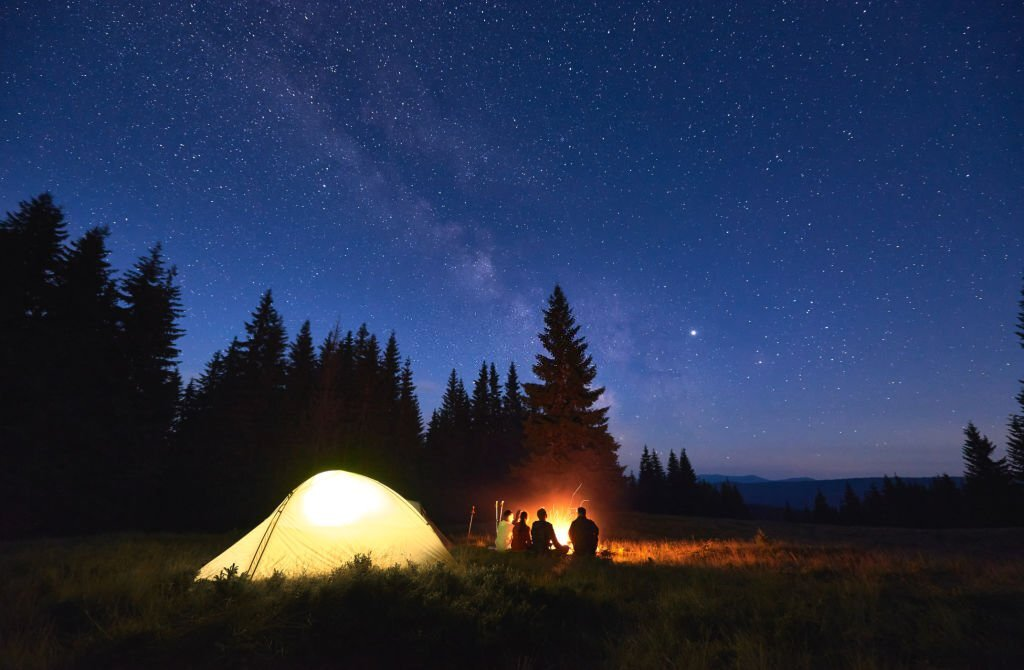
There’s nothing quite like sitting around a crackling campfire at night, but starting and maintaining a campfire can be tricky. Here are a few tips to make it easier.
To start, gather some dry tinder like twigs, leaves, or paper. Create a nest out of the tinder and place it in the center of your fire pit. Then, add some larger pieces of wood on top of the nest, arranged in a teepee shape. Finally, light the tinder with a match or lighter and watch as your fire grows!
To keep the fire going strong, you’ll need to keep feeding it new wood. Add small pieces of wood at first, then gradually add larger ones as the fire builds. Remember to leave room between the logs so that air can circulate and help the fire breathe.
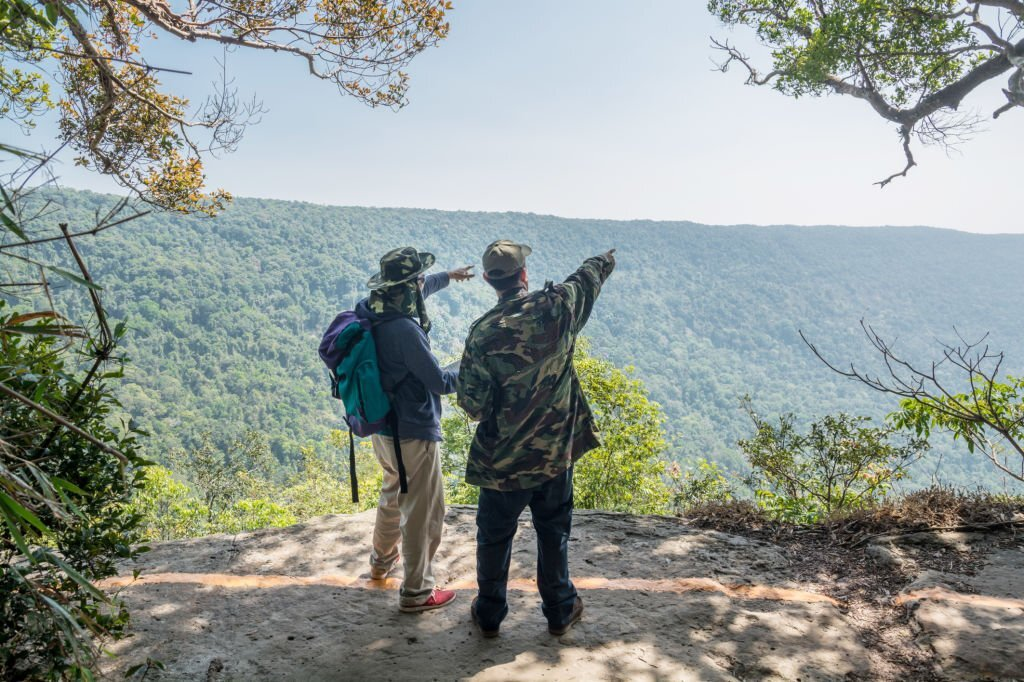
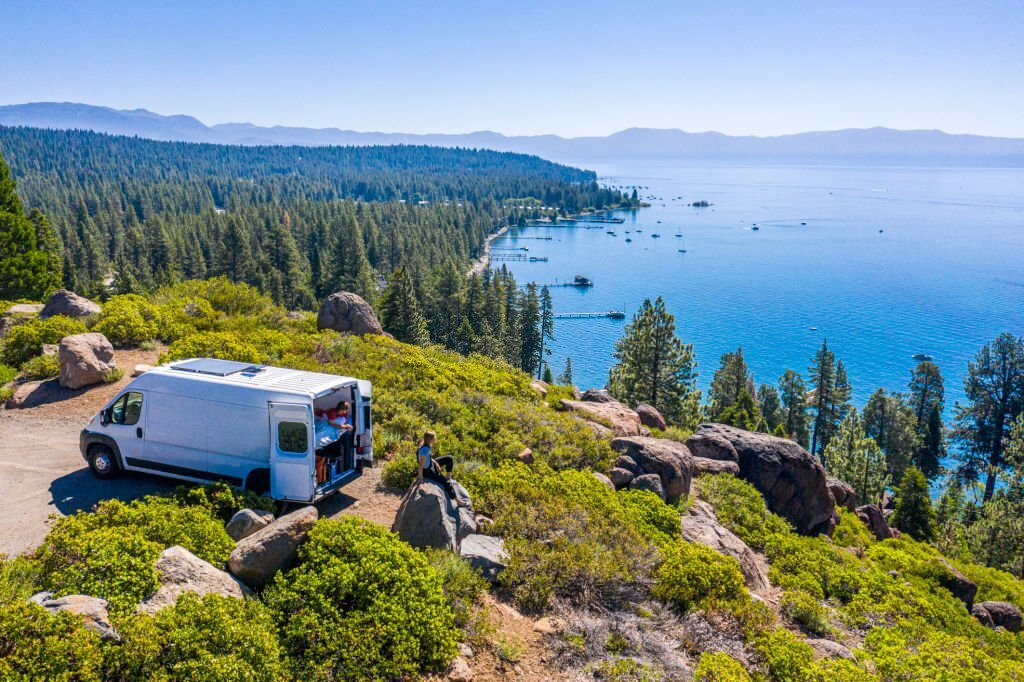
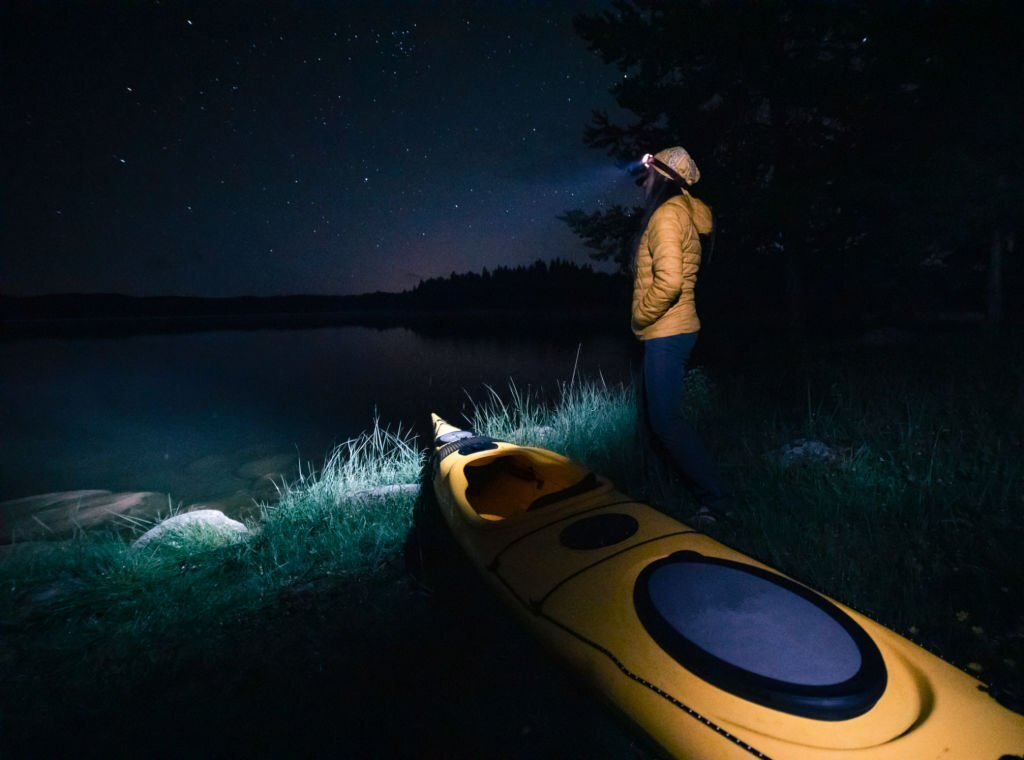
Enjoying the outdoors: How to make the most of your time in nature.
There are few things more refreshing than spending time in nature. Camping is a great way to get outdoors and enjoy all that Mother Nature has to offer. Here are a few tips to make your camping trip more enjoyable:
- Get there early: Arriving at your campsite early will help you avoid the crowds and get the best spot. Plus, you’ll have more time to set up your camp and explore your surroundings.
- Bring plenty of food and water: It’s always better to have too much food and water than not enough. Pack enough for all the activities you want to do, plus some snacks for when you get hungry.
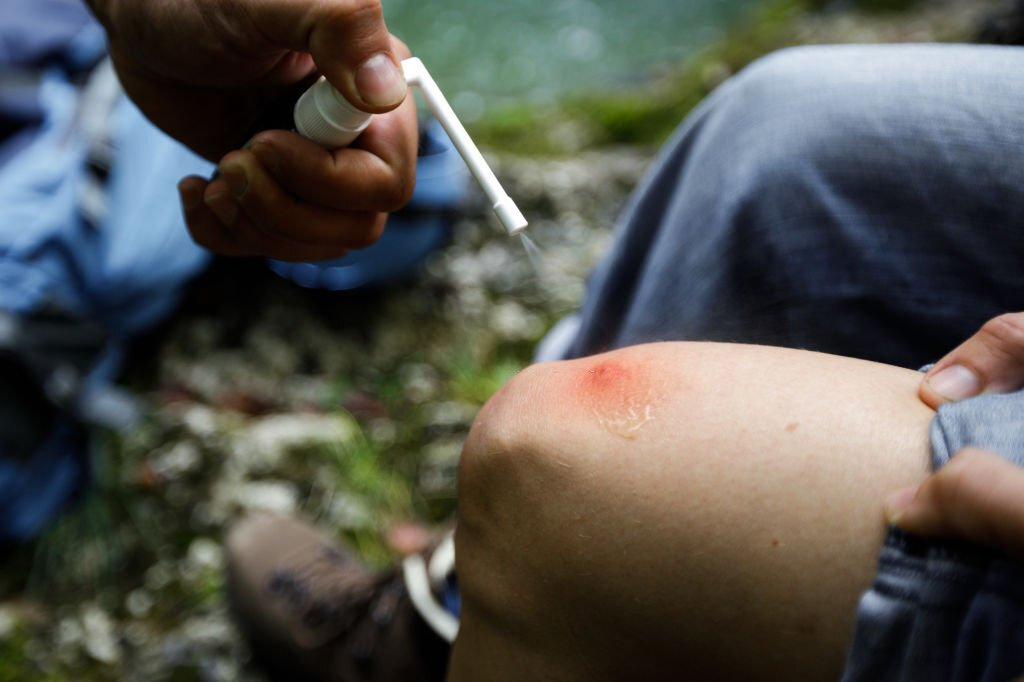
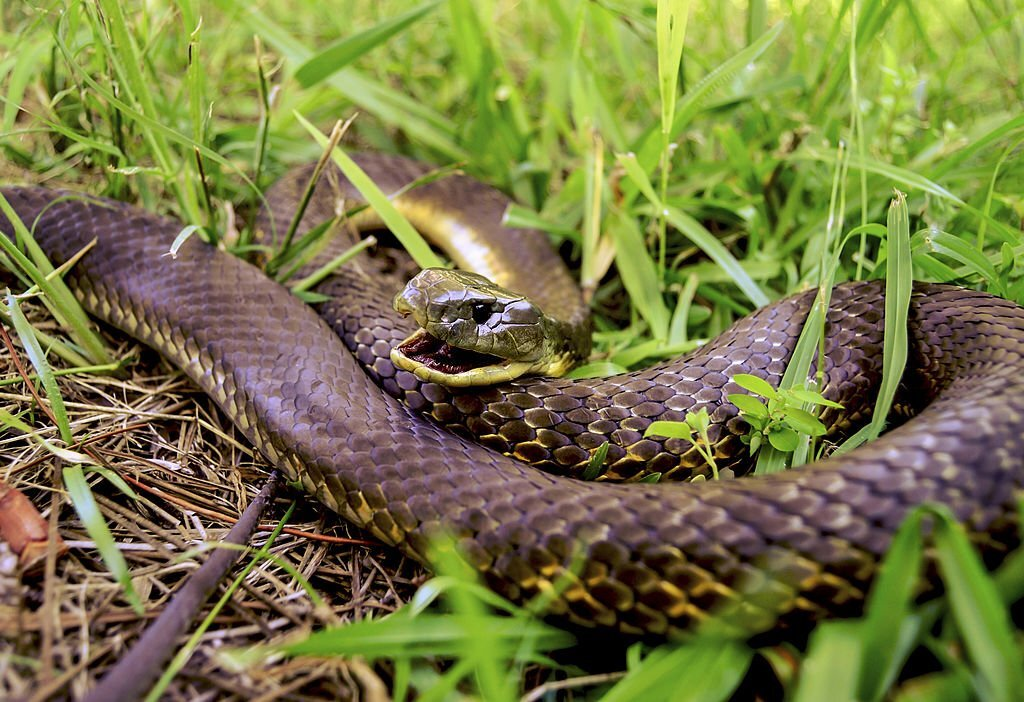
- Don’t forget the bug spray: Nothing ruins a camping trip faster than being eaten alive by mosquitoes. Be sure to pack bug spray, and reapply it often.
- Pick the right spot: Choose a site that has a flat, level surface and is away from trees, rocks, and any other obstacles.
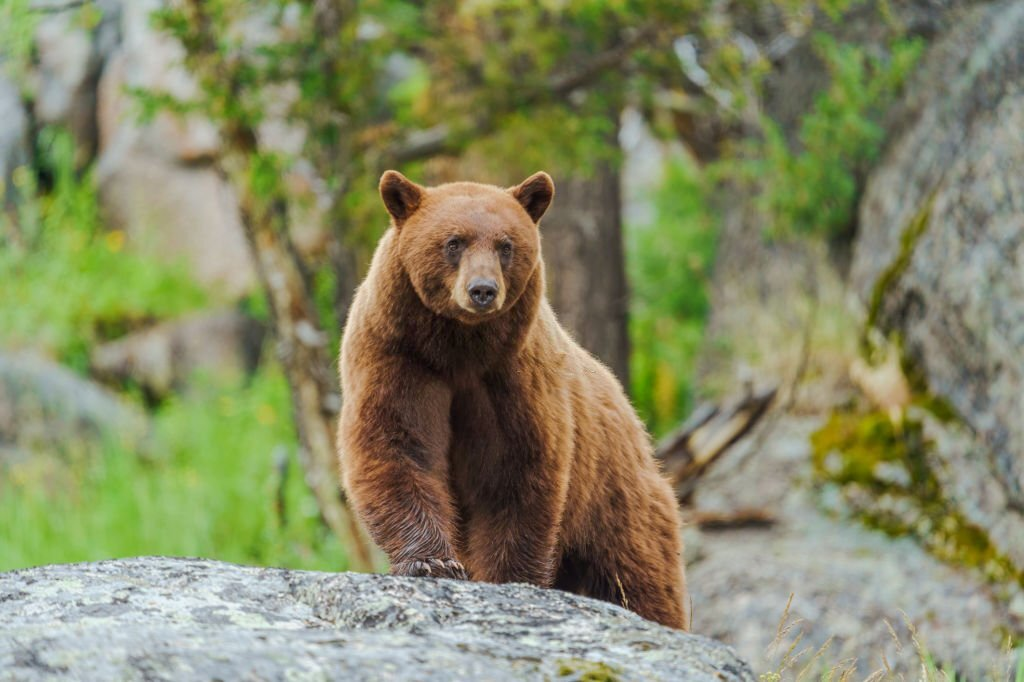
- Secure everything: You don’t want your stuff blowing away or getting damaged by wildlife. Bring a camping tarp to secure any loose objects, and make sure you have rope to tie up tents and tarps.
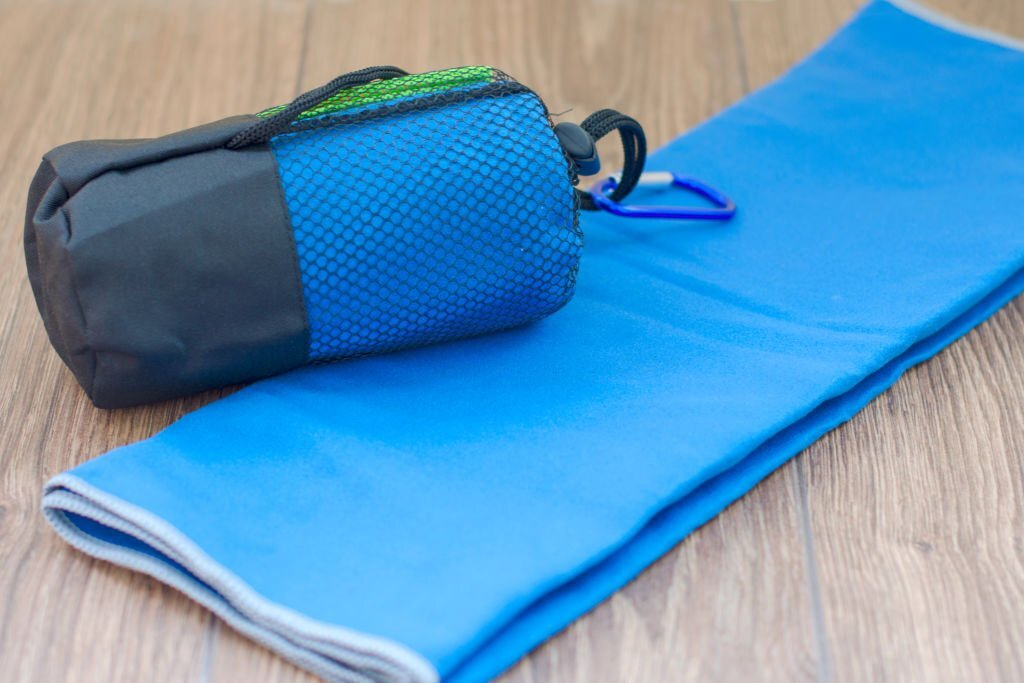
Keeping clean: simple tips for staying clean while camping
One of the best ways to enjoy camping is to keep things clean and tidy. Here are some tips to help you stay clean while camping:
- Bring along a small trash bag or container. This will help you keep your campsite clean and free of litter.
- Use biodegradable soap for washing dishes and yourself. This will help protect the environment from harmful chemicals.
- Pack out all of your trash, including food scraps. Leaving no trace behind is one of the best ways to be a responsible camper.
- Keep a clean campsite by sweeping up debris and ashes from campfires.
- Don’t forget to wash your hands often. Especially before eating!
Final Thoughts
Following these tricks for making camping outdoors easier & more efficient will help you to have a great time while staying safe. Be sure to pack everything you need, set up camp for your space, store food and water correctly, and be able to build a fire. Then sit back, relax, and enjoy all that nature has to offer. Also, keep it clean!